
Workshop & Storage · Project · DIY
Tools Needed to Build Garage Shelves
 DEWALT 20V MAX Cordless Drill/Driver Kit (DCD771C2)
 Johnson Level & Tool 3748 Professional Aluminum Level, 48-Inch
 STANLEY FATMAX Tape Measure, 25-Foot (33-725)
Photos from the Amazon listings. Scores are our own, not customer ratings.
Quick answer
Sturdy garage shelves from 2x4s and plywood need a handful of tools: a tape measure, a level, a cordless drill/driver, a saw to cut the lumber and a square to mark it. Most of the work is measuring and screwing, so the drill, level and tape do the most. Skip the build if you only need to hang a few light items and a ready-made steel rack would do.
What tools do you need to build garage shelves?
A garage shelf unit is simple carpentry: cut some 2x4 uprights and rails, screw them into frames, and lay plywood on top. The tool list is shorter than most people expect. If you have never built anything, start here and add tools only when a step calls for them.
The core kit is five things.
- A tape measure for every length.
- A cordless drill/driver to drill pilot holes and sink screws.
- A level so each shelf sits flat and each upright stands straight.
- A saw to cut lumber and plywood to size. A circular saw does both. A miter saw makes faster, cleaner crosscuts on 2x4s if you already own one.
- A square to mark a cut that is truly square. A speed square is the usual choice and also works as a saw guide.
Beyond that, a few small items make the work easier: a pencil, safety glasses, work gloves, two clamps and a stud finder if the shelves will attach to a wall.
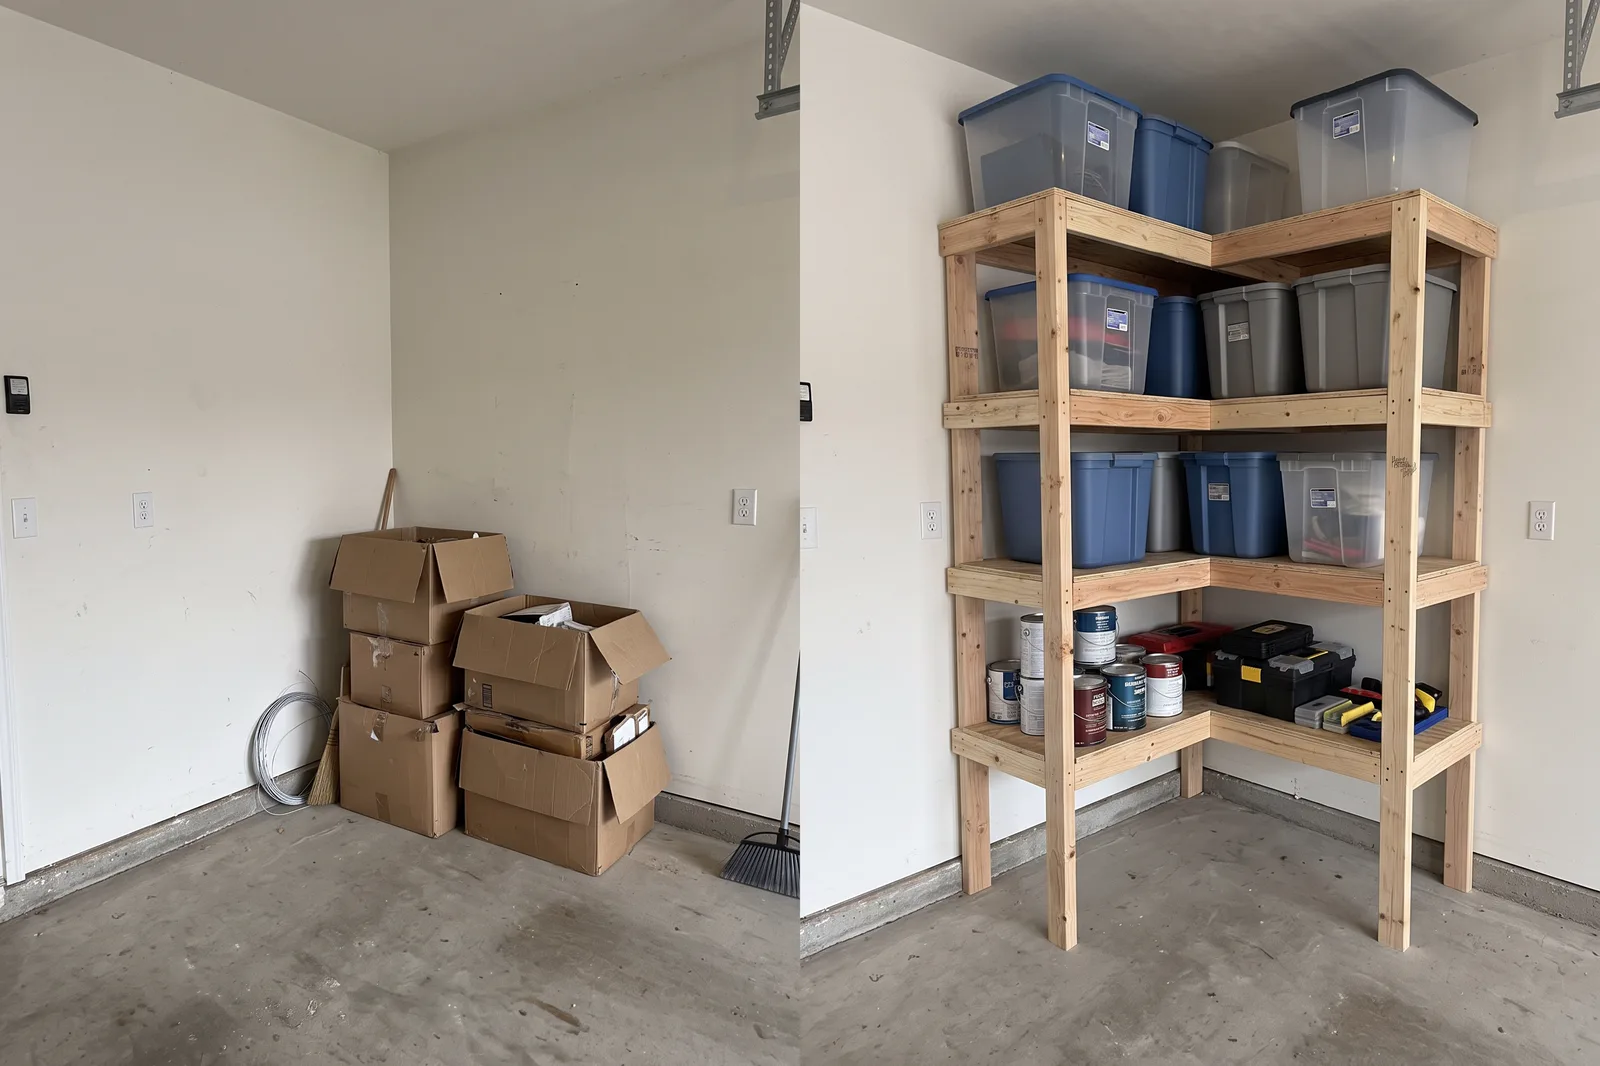
Why these tools, in this order
Measure twice, cut once. Shelf frames only look right and hold weight if matching pieces are the same length. A tape measure with a wide, stiff blade lets you mark a board by yourself. The 25-foot size covers a full garage wall, and a shorter tape runs out when you measure across it.
The drill/driver does most of the work. A typical shelf has dozens of screws. A cordless drill with a clutch (the adjustable ring that stops the screw at a set depth) sinks them quickly without stripping the head. Drill a pilot hole first so the 2x4 does not split near the end of the board.
The level keeps it honest. A shelf that leans looks bad and slides things off it. Put the level on each shelf as you fasten it, and hold it against each upright to check it is plumb (truly vertical). A 48-inch level spans a whole shelf, so one reading tells you the full story.
Cuts decide the fit. Square, even cuts make frames that sit flat. If you do not own a saw yet, ask the lumber counter to cut your boards when you buy them, and put a circular saw on your list for later.
Who it's for
- Homeowners who want heavy-duty storage for bins, paint and tools
- First-time builders who can handle a drill and a saw after reading the steps
- Renters with a garage who want freestanding shelves that can move with them
- Anyone with an odd space where store-bought racks do not fit
Who should skip it
- People with only a few light items. A ready-made steel or resin rack is faster.
- Anyone not ready to cut lumber. Many home centers will make a few cuts on boards you buy from them.
- Anyone planning very heavy loads on tall shelves. Ask a pro to size and anchor them.
How to build the shelves, step by step
These steps follow the routine most 2x4 shelf plans use. Follow the plan you pick for exact sizes, and read the manual for each tool.
- Measure the space. Mark the width, depth and height you want. Look for outlets, pipes and the garage door track.
- Pick a plan and write a cut list. A simple unit has four uprights and horizontal rails front and back at every shelf level. Write down each length and how many you need.
- Buy straight lumber. Sight down each board and skip any that are twisted or bowed. Buy a little extra.
- Cut the 2x4s. Mark with a pencil and your square, then cut. Cut identical pieces together so they match.
- Drill pilot holes. Use a bit slightly smaller than the screw.
- Build the end frames. Lay two uprights on the floor, attach the front and rear rails at the heights you marked, and check with the square that the frame is a true rectangle. Build the second end frame the same way.
- Stand the frames up and connect them. Add the long front and back rails between the end frames. Clamp them first if you are working alone.
- Check level and plumb. Set the level on each rail and against each upright. Adjust before the final screws go in.
- Cut and lay the plywood shelves. Cut each sheet to size, drop it on the rails and fasten it down so it cannot slide.
- Anchor the top to the wall. Find studs with a stud finder and screw the top rail to them with structural screws. This stops the unit tipping forward if you overload a high shelf.
- Load heavy items low. Put the weightiest bins on the bottom shelf and lighter things higher.
Mistakes to avoid
- Using drywall screws. They are brittle and can snap under load.
- Skipping the wall anchor. A tall unit loaded from the top can tip.
- Long unsupported spans. Plywood sags over time. Add a middle support.
- Rushing the first frame. If it is out of square, the whole unit will be too.
What buyers say about these tools
We read the customer-review summaries on each Amazon listing, then the videos below, and summarise the patterns rather than quote anyone.
For the DEWALT drill/driver kit, the summary says buyers find it powerful for its size, appreciate its light weight and versatility around the house, and consider it good value. Battery life gets mixed feedback, with some reporting batteries that did not hold a charge. For the STANLEY FATMAX tape, buyers praise the sturdy blade that extends far without folding and the wide, easy-to-read design. Opinions are mixed on the lock, with some finding it tight and others hard to work, and on how much the blade twists when fully extended. For the Johnson 48-inch level, the listing summary is short: buyers find it well made and surprisingly accurate.
| Pros of building your own shelves | Cons |
|---|---|
| Fits your space exactly. You choose the height, depth and shelf spacing. | It takes a weekend. Cutting, assembling and anchoring takes longer than assembling a steel rack. |
| Strong for the material. 2x4s with plywood shelves carry heavy bins when built and anchored properly. | You need a saw. Poor cuts make poor frames. |
| Easy to repair or change. A screwed frame can be taken apart and rebuilt. | Weight limits are on you. Home-built shelves have no printed load rating, so build conservatively and spread loads. |
What to look for when buying each tool
Cordless drill/driver. Look for a compact 20V-class model with a clutch and a keyless chuck. A kit that includes a battery and charger gets you started in one purchase. If you already own batteries from one brand, buy that brand's tool-only drill instead, so every tool shares the same batteries. The kit's review summary shows buyers are happy with the power and the weight, so the main thing to check is the battery, since some buyers report batteries that stopped holding a charge.
Level. Length matters more than brand. A 24-inch level slips between uprights; a 48-inch level lays across a full shelf and tells you everything in one reading. Aluminum frames stay straight. Before you trust any level, set it on a flat surface, note the bubble, then flip it end for end. If the bubble sits in the same place, it is accurate.
Tape measure. Choose a 25-foot tape with a wide blade and a locking button that holds firmly. The end hook should slide slightly, because that movement is built in to account for the hook's own thickness. A loose, wobbly hook is the sign of a worn tape.
Saw. If you are buying your first one, a circular saw is the usual pick, since it cuts both lumber and plywood. Pair it with a speed square so every line is square.
Helpful extras
- Clamps. Two small clamps hold a rail while you drive screws.
- Stud finder. Needed to anchor a tall unit to the wall.
- A carpenter's pencil. Easy to see and sharp enough for cut lines.
- Safety glasses, gloves and hearing protection. Wood chips fly, and a saw is loud.
- Pliers. A pair of pliers helps with stubborn fasteners and wire.
A note on screws and plywood
Screw choice affects strength more than most people realise. Construction or structural wood screws have thicker shanks and aggressive threads, and they are designed to hold. A screw assortment set is fine for small jobs, but buy a box of the right length for the shelf frame itself. For the shelf surface, 3/4-inch plywood is a common choice because it is flat and stiff, though OSB (a board made from compressed wood strands) is a lighter-duty option. Seal or paint the cut edges of any board that will sit on a damp concrete floor.
Planning the load
Heavy garage items such as paint cans, tool boxes and stacked bins add up fast. Think in zones: put the heaviest things low and near the uprights, and use the top shelf for light, rarely used things. If a shelf looks bowed in the middle, unload it and add a support under that span.
Key specs to look for
| Spec | What to look for |
|---|---|
| Drill/driver size | A compact 20V-class cordless drill/driver is plenty. You need enough torque to sink 2.5 to 3 inch screws into 2x4s without stalling. |
| Chuck | A keyless chuck holds drill bits and driver bits firmly and changes fast. |
| Level length | A 24-inch level fits between uprights. A 48-inch level is better for checking a whole run of shelves in one pass. |
| Level vials | Look for vials you can read from a few feet away, with a plumb (vertical) vial as well as a level (horizontal) one. |
| Tape length and blade | A 25-foot tape with a wide blade lets you measure alone. Standout is how far the blade holds out before it bends. |
| Saw | A circular saw or a miter saw to cut 2x4s and plywood. See our circular saw and miter saw guides. |
| Screws | Construction or structural wood screws, not drywall screws. Drywall screws are brittle and can snap under load. |
| Wall fasteners | Structural screws long enough to reach the stud behind the drywall, if you attach the shelves to a wall. |
Where to get the tools
These are the three tools we would put at the top of the list. Each is a mainstream, widely stocked model.

DEWALT 20V MAX Cordless Drill/Driver Kit (DCD771C2)
- Drills pilot holes and drives long wood screws, which is most of a shelf build
- Sold as a kit with a battery and charger, so you can start the same day
- Buyers call it light and comfortable for long sessions
How we scored it
Usefulness 10/10 · Value 8/10 · Durability 8/10. This is our own opinion, based on specs, buyer reviews and independent tests. It is not an Amazon or customer rating.

Johnson Level & Tool 3748 Professional Aluminum Level, 48-Inch
- A 48-inch length checks a whole shelf run in one go
- Shows whether each shelf is flat and each upright is plumb before you screw it down
- Aluminum body does not rust or warp in a damp garage
How we scored it
Usefulness 9/10 · Value 9/10 · Durability 8/10. This is our own opinion, based on specs, buyer reviews and independent tests. It is not an Amazon or customer rating.

STANLEY FATMAX Tape Measure, 25-Foot (33-725)
- A 25-foot tape covers the full wall and every cut length
- Buyers like how far the wide blade extends before it bends
- One of the most common tape measures homeowners buy
How we scored it
Usefulness 10/10 · Value 8/10 · Durability 8/10. This is our own opinion, based on specs, buyer reviews and independent tests. It is not an Amazon or customer rating.
If you do not yet own a saw, read our circular saw guide and add a speed square to your list. A laser distance meter is a nice extra for measuring the wall, though a tape does the job. Buy safety glasses and gloves the same day.

Frequently asked questions
What is the minimum set of tools to build garage shelves?
A tape measure, a pencil, a saw, a cordless drill/driver, a level and a square. Add clamps and a stud finder if you plan to attach the shelves to the wall. Safety glasses and gloves round out the list.
Do I need a circular saw or can the store cut the wood?
Many home centers will make a few cuts on lumber and plywood you buy from them, though policies vary. For exact lengths and plywood shelves you will want your own saw. See our circular saw guide for what to look for.
Should I screw or nail the shelves together?
Screws are the usual choice for shelves because they hold tighter, can be removed and are easier for beginners to drive straight. Use construction or structural wood screws rather than drywall screws.
How do I keep the shelves from tipping?
Fasten the top of the shelf unit to the wall studs with brackets or screws, and put the heaviest items on the lowest shelves. Studs in most homes sit about 16 inches apart, centre to centre, and a stud finder confirms where.
How wide can a shelf span before it sags?
Wide spans sag over time. Plywood shelves are usually supported every couple of feet, with a 2x4 rail underneath for heavy loads. Follow the plan you choose, and add a support in the middle when unsure.
Do I need a permit to build garage shelves?
Freestanding shelves generally do not need one. If your plan changes the building itself, such as cutting into walls or running electrical, check with your local building department.
Sources
Related tools
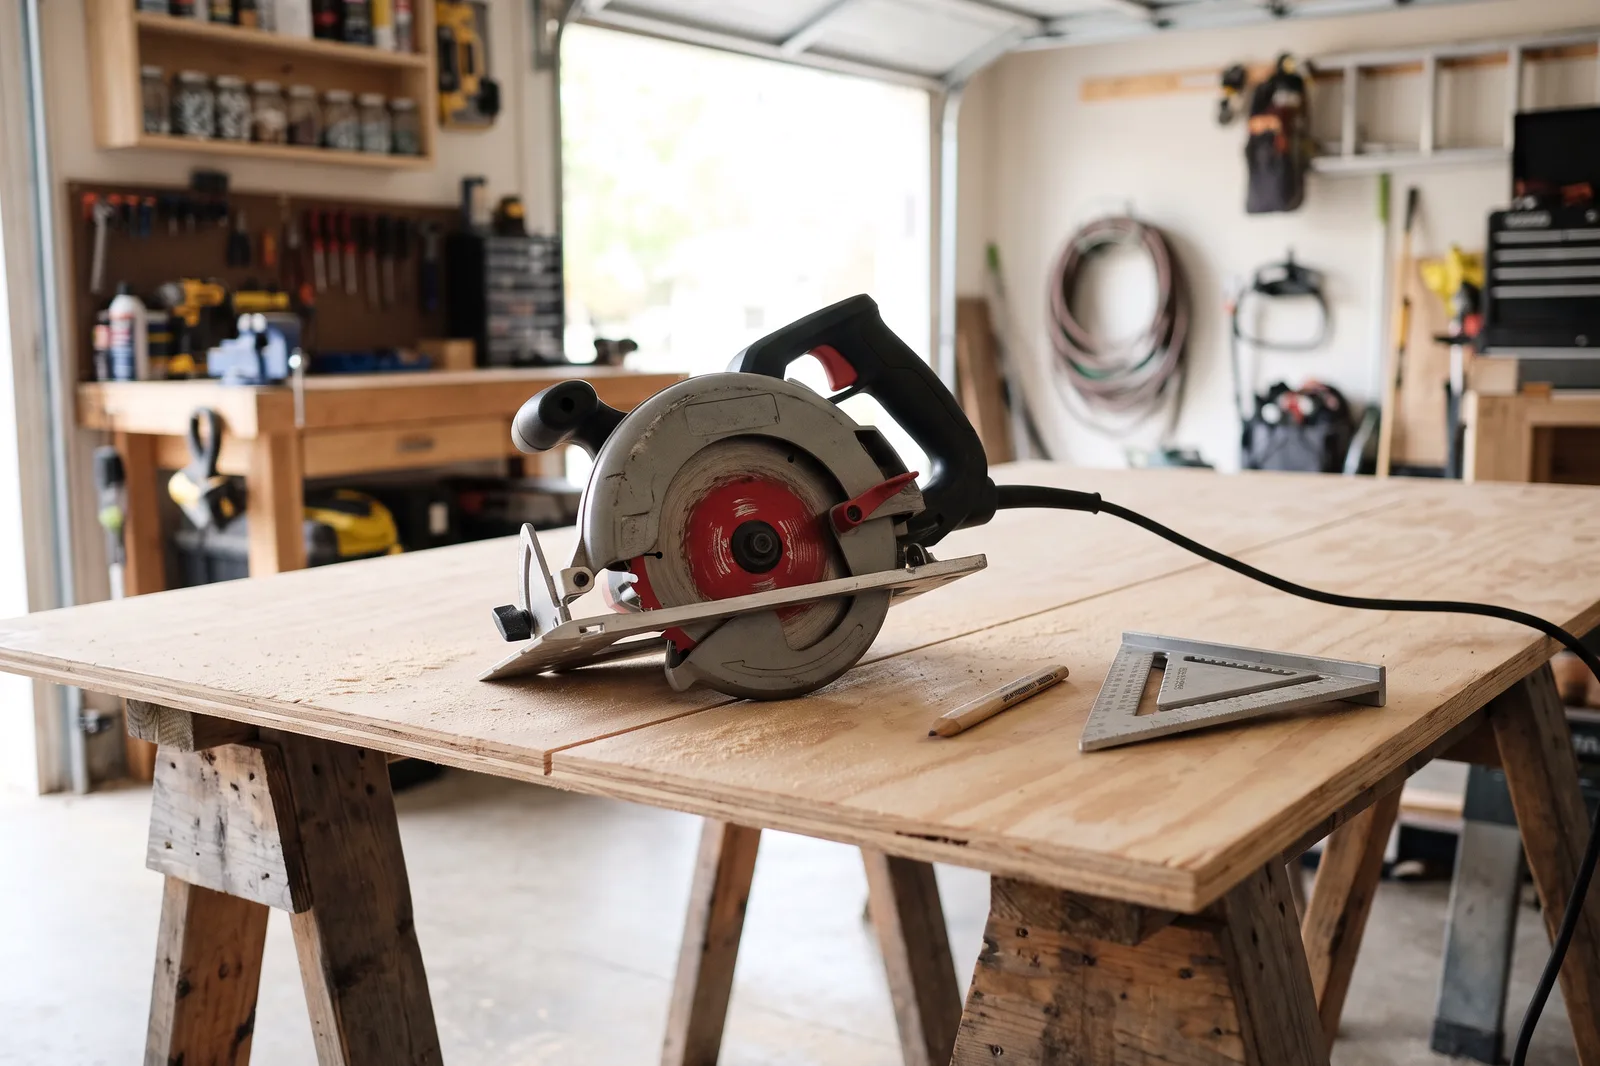 Power ToolsCircular Saw: The Power Saw Most Homeowners Should Own FirstA circular saw is a handheld power saw with a round toothed blade that cuts boards and sheets of plywood in a few seconds.
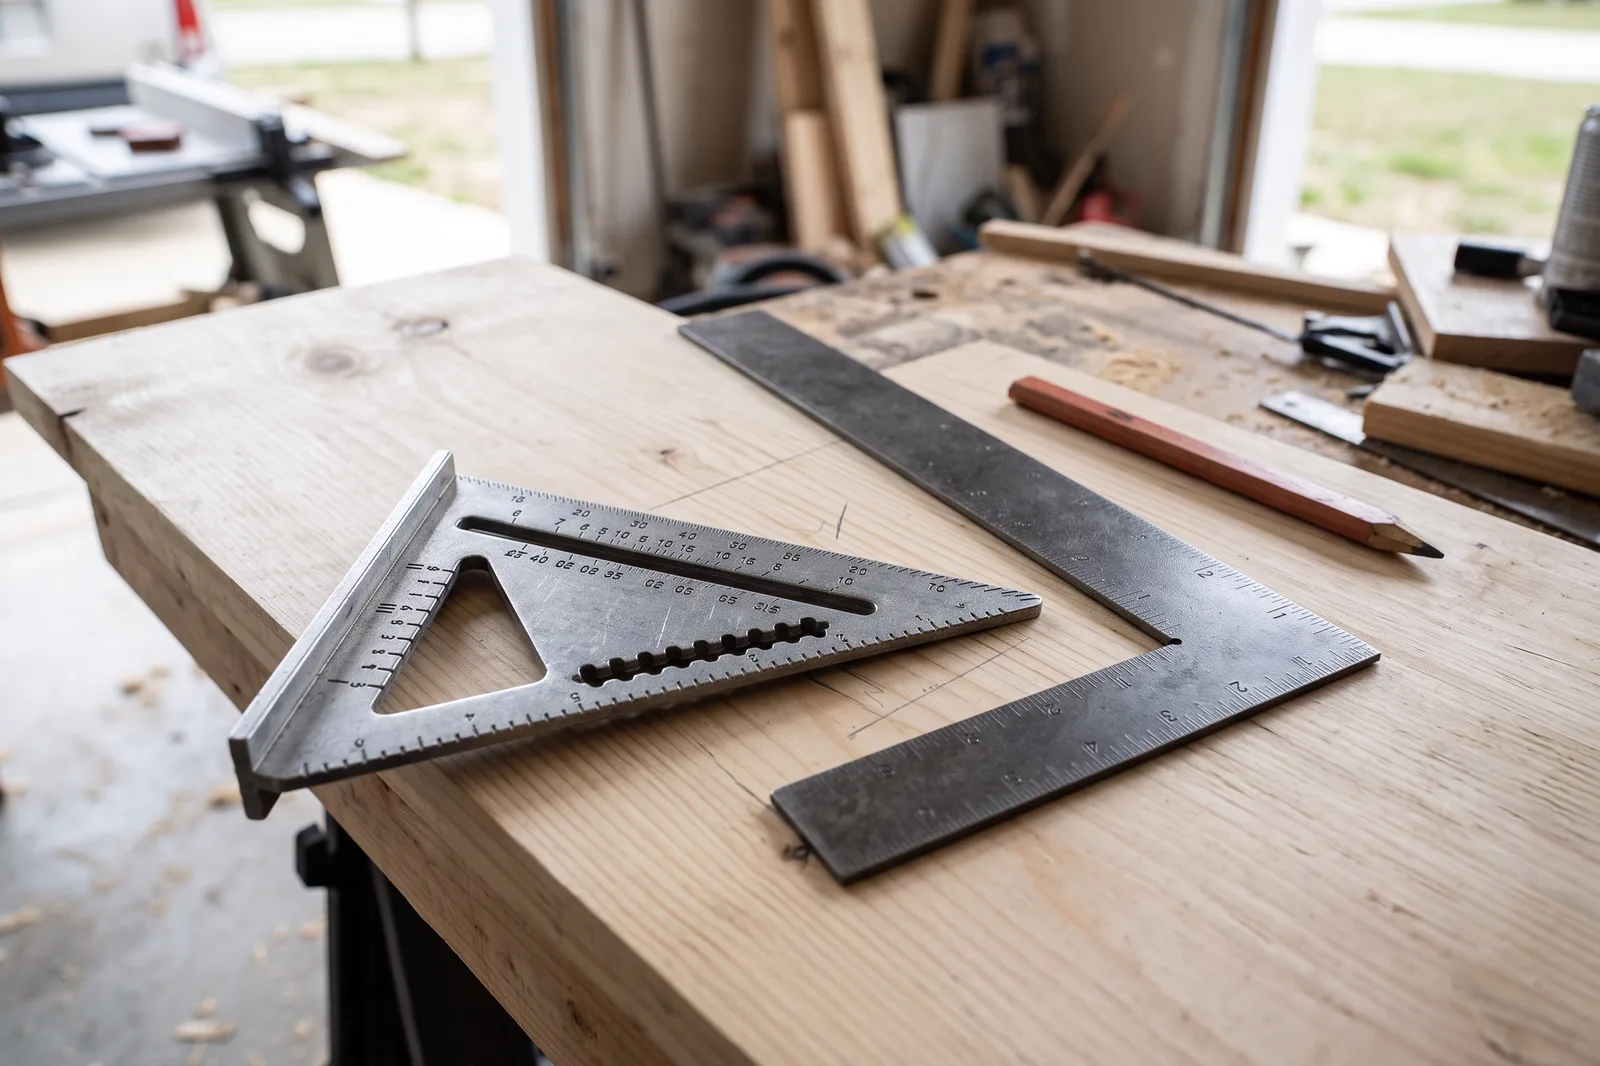 Measuring & LayoutSpeed Square and Framing Square: Two Layout Tools Worth OwningA speed square is a small aluminum triangle for marking square and angled cuts on boards, and a framing square is a large steel L for checking corners and laying out stairs and rafters.
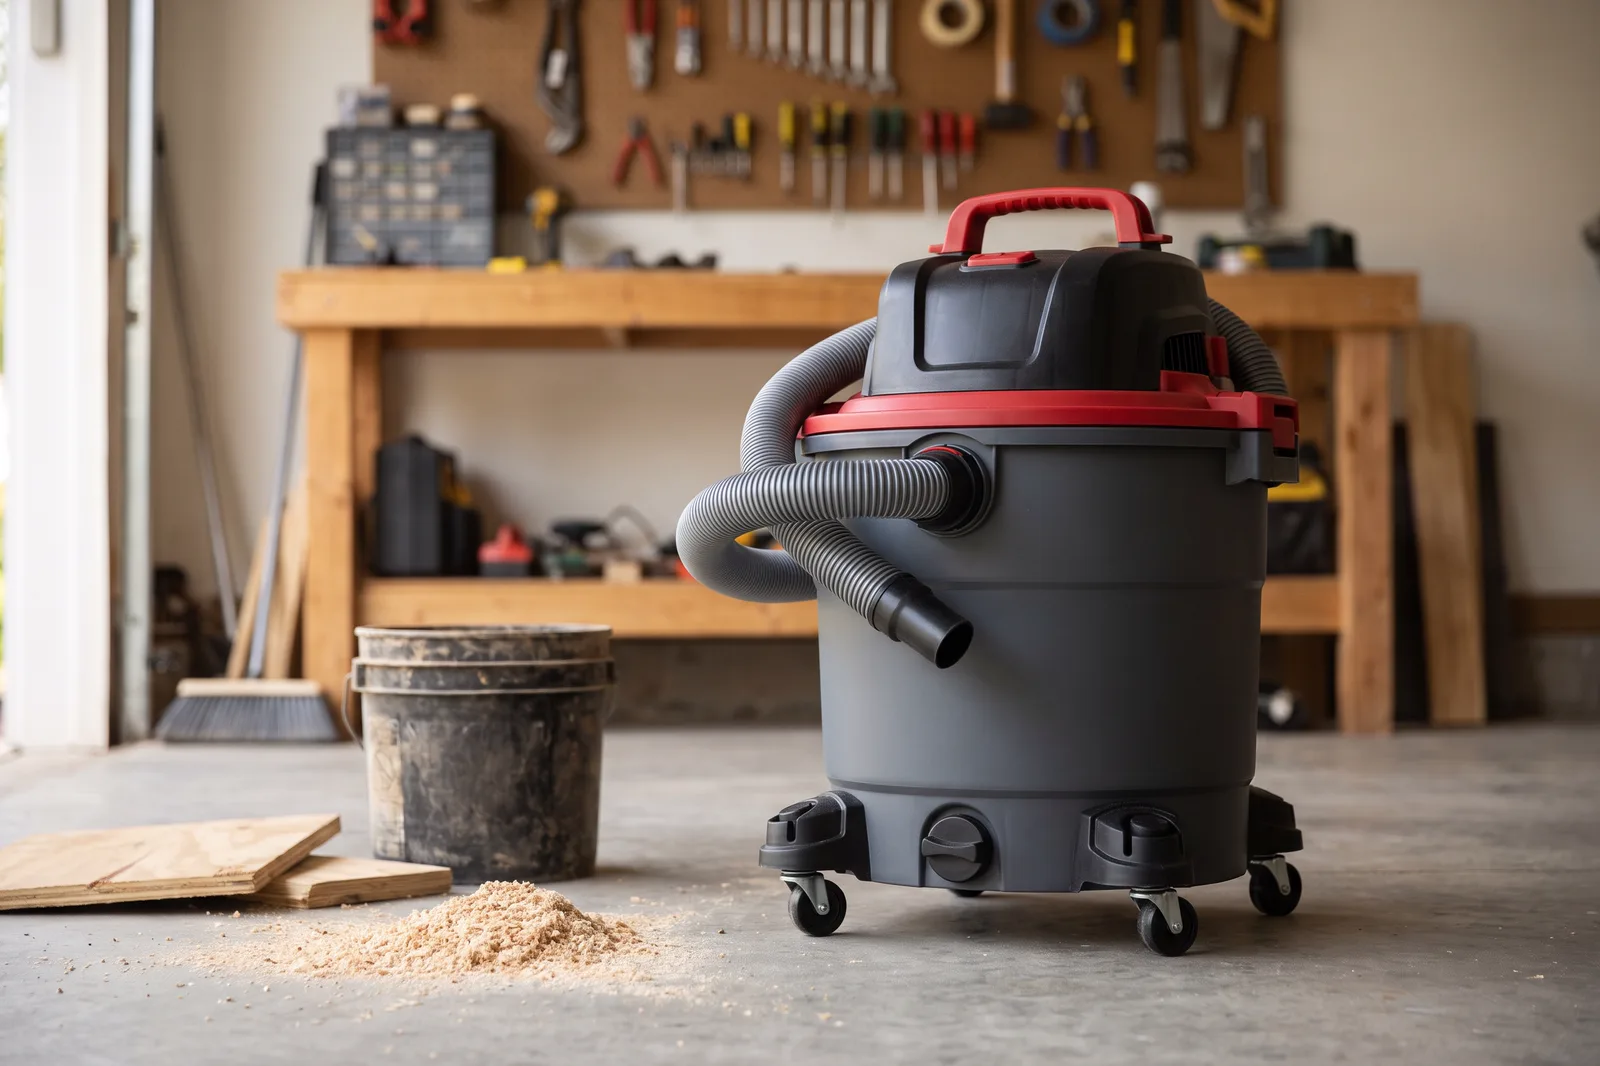 Workshop & StorageShop Vacuum: The Wet/Dry Cleanup Tool Every Garage NeedsA shop vacuum is a tough wet/dry vacuum that sucks up sawdust, drywall scraps and spilled water that would wreck a household vacuum.