
Outdoor & Garden · Project · DIY
Tools Needed to Build a Backyard Deck
 DEWALT 20V MAX Impact Driver, 1/4-Inch, Tool Only (DCF885B)
 Tajima Chalk-Rite Auto Wind Chalk Box
 Empire Level 430-24 Homeowner Aluminum Level, 24-Inch
Photos from the Amazon listings. Scores are our own, not customer ratings.
Quick answer
A low backyard deck needs a saw, an impact driver for the hundreds of screws, a level, a chalk line, a tape measure and a square, plus a way to dig footings. Deck framing is structural, so check permits and local code first, and hire a pro for any deck that is raised high off the ground or attached to the house.
What tools do you need to build a deck?
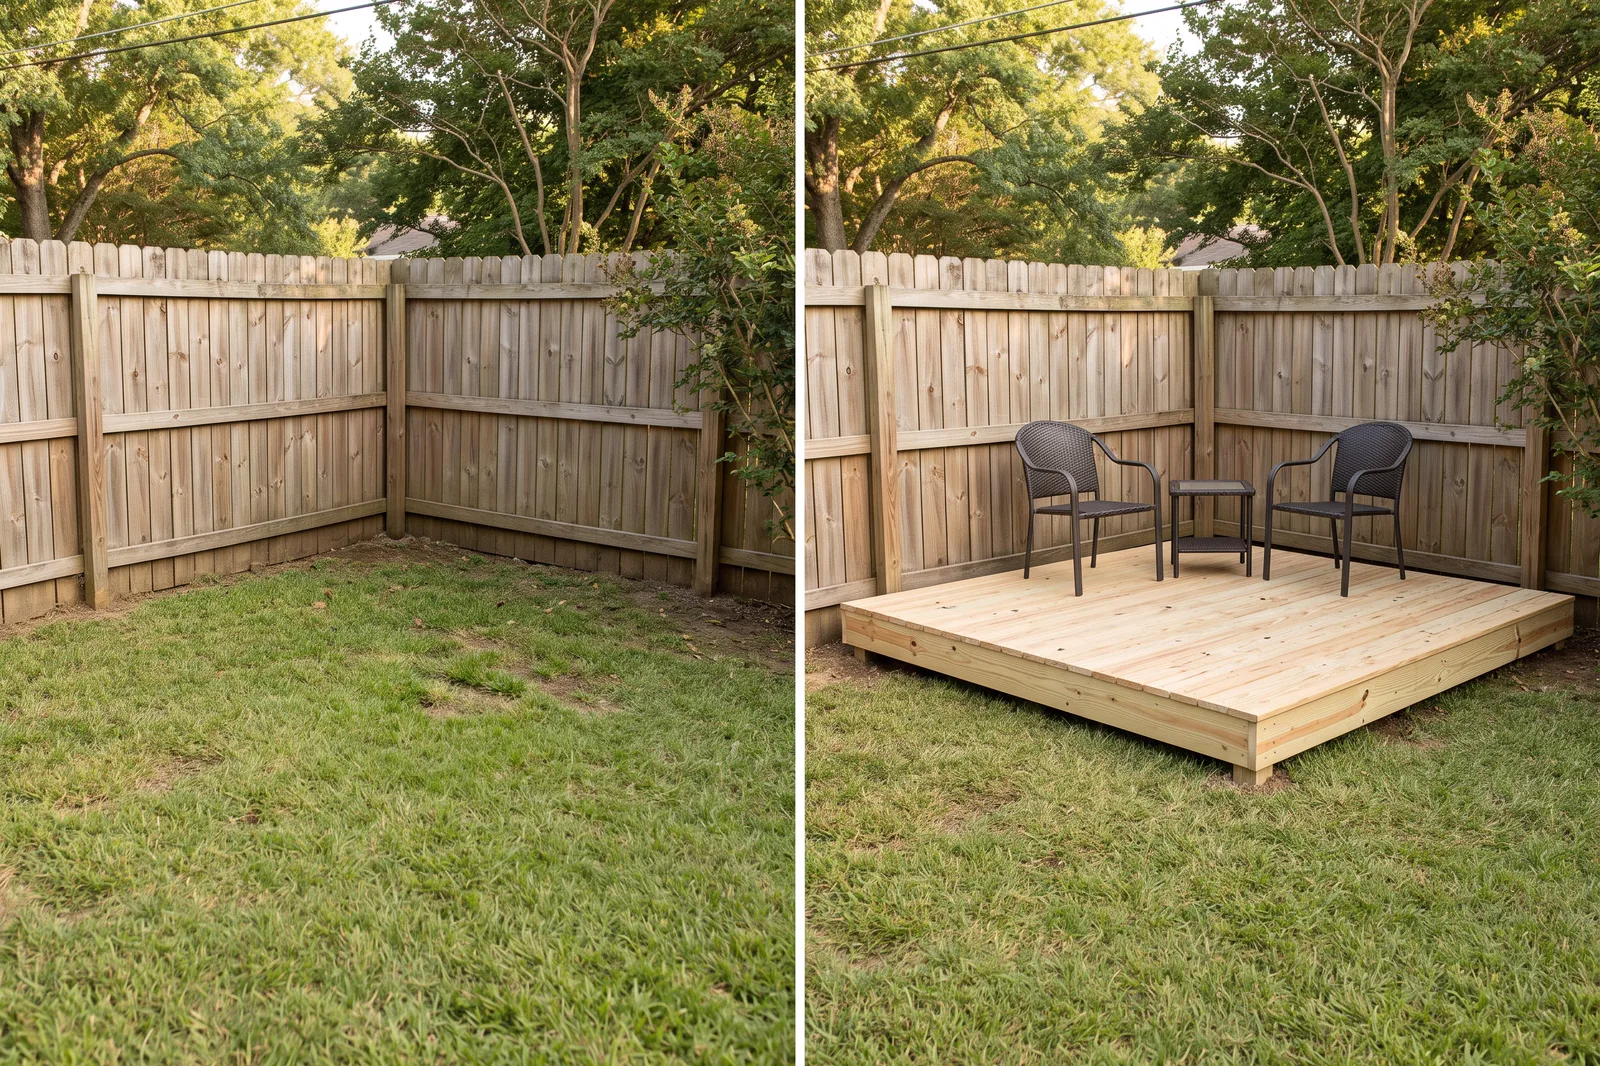
A deck is a small outdoor floor. Posts and footings hold up beams, beams hold up joists, and the deck boards screw on top. Because the frame carries people, it is structural. That means two things before any tool: check your local permit and code rules, and decide honestly whether this deck is a DIY job.
A good DIY candidate is a low, freestanding deck that sits close to the ground and does not attach to the house. A job for a pro is any deck raised high off the ground, attached to the house with a ledger board (the board bolted to the house wall), or with stairs and railings. Falls and collapses from decks hurt people, and inspectors look at this closely. If you are unsure, hire a pro or at least have an engineer or inspector check your plan.
If you do build, the core tool kit is:
- A saw. A circular saw cuts joists and boards. A miter saw makes the many square cuts quicker.
- An impact driver to drive hundreds of screws.
- A level for beams, joists and posts.
- A chalk line to snap straight lines.
- A tape measure and a speed square and framing square.
- A digging tool such as a post hole digger or a pick mattock for footings.
Add safety glasses, hearing protection, gloves and a dust mask. Work out how many boards, joists and screws you need first with the free deck calculator.
Why these tools matter for a deck
The impact driver saves your wrist. A deck has hundreds of long screws. An impact driver delivers short bursts of turning force, so it sinks screws with less effort and fewer slipped bits than a drill. The Amazon summary for the DEWALT DCF885B says buyers find it very powerful, with incredible torque, and appreciate the compact, light design. Battery feedback is mixed. This listing is for the tool only, so buyers note it does not include a battery and charger. If you do not already own a 20V MAX battery, plan for one.
A level keeps water moving. Joists need to be level, or slightly sloped away from the house, so a deck drains and sits flat. Check each beam and joist as you go. A 24-inch level is useful for small checks, and a long board with a level on it covers wider spans.
A chalk line gives you a straight edge. Deck boards overhang the frame and need a clean, straight cut line. Snapping a chalk line across the ends lets you trim all boards in one pass. In the Amazon summary, buyers of the Tajima Chalk-Rite say the quality is good, but the auto-rewind gets mixed feedback and some report it breaks easily. Handle it gently and wind it slowly if the rewind sticks.
A saw and a square keep things true. The best frames start with consistent, square cuts. A speed square doubles as a saw guide for quick crosscuts.
Who it's for
- Confident DIYers building a low, freestanding deck
- Homeowners who want to understand the tool list before asking for quotes
- Anyone replacing deck boards on an existing, sound frame
- Handy people willing to follow local code and get inspections
Who should skip it
- Anyone building a raised deck or one attached to the house. Ask a pro.
- People unsure about footings, beams and ledger boards. These are structural.
- Anyone who has not checked their local permit rules. Do that first.
How to approach a low deck, step by step
This is a general order of work for a small, low, freestanding deck. Your plan, local code and the maker's instructions come first.
- Call your building department. Ask about permits, footing depth, setbacks and inspections.
- Call 811 before you dig. In the United States this free number marks buried utility lines.
- Draw a plan and a cut list. Use the deck calculator to count boards and screws.
- Lay out the footprint. Use string, stakes and a tape. Measure diagonals to check for square.
- Dig and set footings. Use a post hole digger or pick mattock to reach the depth your code requires.
- Set posts or blocks and the beams. Check that each is level and plumb with the level.
- Add joists. Space them as the plan and code say. Use the right joist hangers and fasteners.
- Check everything again. Measure diagonals and level the frame before any boards go on.
- Lay deck boards. Leave a small gap between boards for drainage and use exterior-rated screws.
- Trim the overhang. Snap a chalk line and cut the ends in one pass.
- Get inspected. If a permit is required, schedule the inspection before you cover the framing.
Mistakes to avoid
- Skipping the permit. It can cause trouble with insurance and a future sale.
- Using the wrong fasteners. Interior screws rust and fail outdoors.
- Shallow footings. Frost and soft soil move a deck.
- Attaching to the house without help. The ledger connection is a common failure point.
What buyers and testers say, with pros and cons
We read the customer-review summaries on each Amazon listing and the build videos below, and we describe the patterns rather than quote anyone.
| Pros of building a low deck yourself | Cons |
|---|---|
| You pick the size and shape. A low deck is a manageable weekend or two. | It is structural work. Mistakes are costly and can be unsafe. |
| Tools are reusable. An impact driver, level and chalk line serve many other projects. | Permits and inspections take time. |
| Savings on labor. You trade your time for a contractor's. | Heavy lifting and long days. Plan helpers for beams and boards. |
What to look for when buying each tool
Impact driver. Pick a 1/4-inch hex impact driver in the same battery family as any other cordless tools you own. Compact models are easier on your wrist and fit between joists. Buy a set of driver bits that match your deck screws, such as square-drive or star-drive bits, because the screw head type decides the bit.
Level. Choose both a 24-inch level for small checks and a 48-inch level for beams and joists if you can. Aluminum frames resist weather. Test the level on a flat surface by flipping it end for end.
Chalk line. Pick one with a strong case and a smooth hook. Auto-rewind models are convenient but get mixed feedback, according to the review summary, so a manual-wind box is a reasonable alternative. Use blue chalk, which brushes off, rather than red, which stains.
Saw. Pick a circular saw, and add a miter saw if you can, because a deck has many square crosscuts. Use a carbide blade made for framing lumber and spare blades for deck boards.
Digging tools. A post hole digger or a pick mattock opens the footing holes. A mattock is better in hard clay and rocky ground.
Helpful extras
- String line and stakes for layout.
- Framing square to check corners.
- Clamps to hold boards.
- Joist hanger nails or structural screws specified for the hangers.
- Safety glasses, hearing protection, work gloves and a dust mask.
Planning the boards
Count your boards with the deck calculator, then add extra for waste and mistakes. Choose straight boards and sort them as you go. Leave small gaps between boards for water to drain, and follow the board maker's instructions for the gap size and the fasteners.
Deck safety, code and when to hire a pro
Deck framing is structural. The posts, footings, beams, joists and any ledger board are what keep people from falling. Local building codes set footing depth, beam and joist sizes, spacing, railing height and how a deck attaches to a house. Those rules vary by place and change over time. Call your building department before you start, ask about permits and book the inspections.
Hire a pro for a raised deck, a deck attached to the house, a deck over a basement or crawlspace, or one with a roof or a hot tub. Even if you build the deck yourself, a professional can review your plan. Only build what you can build safely.
Key specs to look for
| Spec | What to look for |
|---|---|
| Saw | A circular saw cuts joists and deck boards. A miter saw makes faster square cuts on boards. See our guides. |
| Impact driver | A 1/4-inch hex impact driver with enough torque for 3-inch deck screws. Bits that fit it are sold separately in many sets. |
| Level | A 24-inch level for details and a 48-inch level for beams and joists. A deck frame must be level to drain and look right. |
| Chalk line | A chalk box with a long line and an easy-fill hole. Blue chalk is easy to wash away, red is permanent. |
| Tape measure | A 25-foot tape. A longer 30-foot tape helps on bigger decks. |
| Squares | A speed square for marking and a framing square for checking corners. See our speed square guide. |
| Fasteners | Exterior-rated deck screws and structural connectors. Using the wrong fastener is a common failure. |
| Digging tools | A post hole digger or a pick mattock for footing holes. Call 811 before you dig. |
Where to get the tools
Here are three tools worth owning for this project. All are widely stocked.

DEWALT 20V MAX Impact Driver, 1/4-Inch, Tool Only (DCF885B)
- Drives long deck screws fast without straining your wrist, which matters over hundreds of screws
- Compact and light, per buyers
- Sold tool-only, so it fits if you already own a 20V MAX battery
How we scored it
Usefulness 10/10 · Value 8/10 · Durability 8/10. This is our own opinion, based on specs, buyer reviews and independent tests. It is not an Amazon or customer rating.

Tajima Chalk-Rite Auto Wind Chalk Box
- Snaps a long straight line to mark deck board cuts and layout
- A clear canister lets you see how much chalk is left
- Buyers report good quality but mixed results on the auto-rewind
How we scored it
Usefulness 8/10 · Value 7/10 · Durability 6/10. This is our own opinion, based on specs, buyer reviews and independent tests. It is not an Amazon or customer rating.

Empire Level 430-24 Homeowner Aluminum Level, 24-Inch
- Checks that framing is level and posts are plumb
- A 24-inch length fits across joists and beside posts
- Aluminum body for outdoor use
How we scored it
Usefulness 9/10 · Value 8/10 · Durability 7/10. This is our own opinion, based on specs, buyer reviews and independent tests. It is not an Amazon or customer rating.
If you do not own a saw yet, start with our circular saw guide. For digging footings in hard clay, read about the pick mattock. Whatever you buy, check your local code first, and hire a pro for anything raised or attached to the house.
Watch and read more
Free calculators FigureMyHome
- Deck Calculator — Work out boards and screws before you start cutting.
- Floor Joist & Rafter Span Calculator — A starting point for joist size and spacing. Confirm with local code.
Frequently asked questions
Do I need a permit to build a deck?
In many places you do, especially for decks that are attached to the house, raised off the ground or above a certain size. Rules vary by city and county, so call your local building department before you buy materials.
Can I build a deck myself?
A low, freestanding deck is a common DIY project if you follow code and a good plan. A tall deck, a deck attached to the house or one with stairs and railings carries more risk. Hire a professional for those or at least have your plan reviewed.
Why does an impact driver beat a drill for decks?
An impact driver adds quick rotational bursts that sink long screws with less effort and less cam-out (the bit slipping out of the screw head). A drill can do the job, but your hand tires faster.
What size level do I need for a deck?
A 24-inch level is handy for details. A 48-inch level is better for checking beams and joists. A long straightedge board and a short level also work.
How many deck boards and screws will I need?
Use a calculator, then add a little for waste. Our deck calculator gives you a starting count.
How do I check my joist spacing and span?
Your plan and local code set the lumber size, the spacing and the allowed span. The joist span calculator is a starting point, but confirm with your local rules.
Sources
Related tools
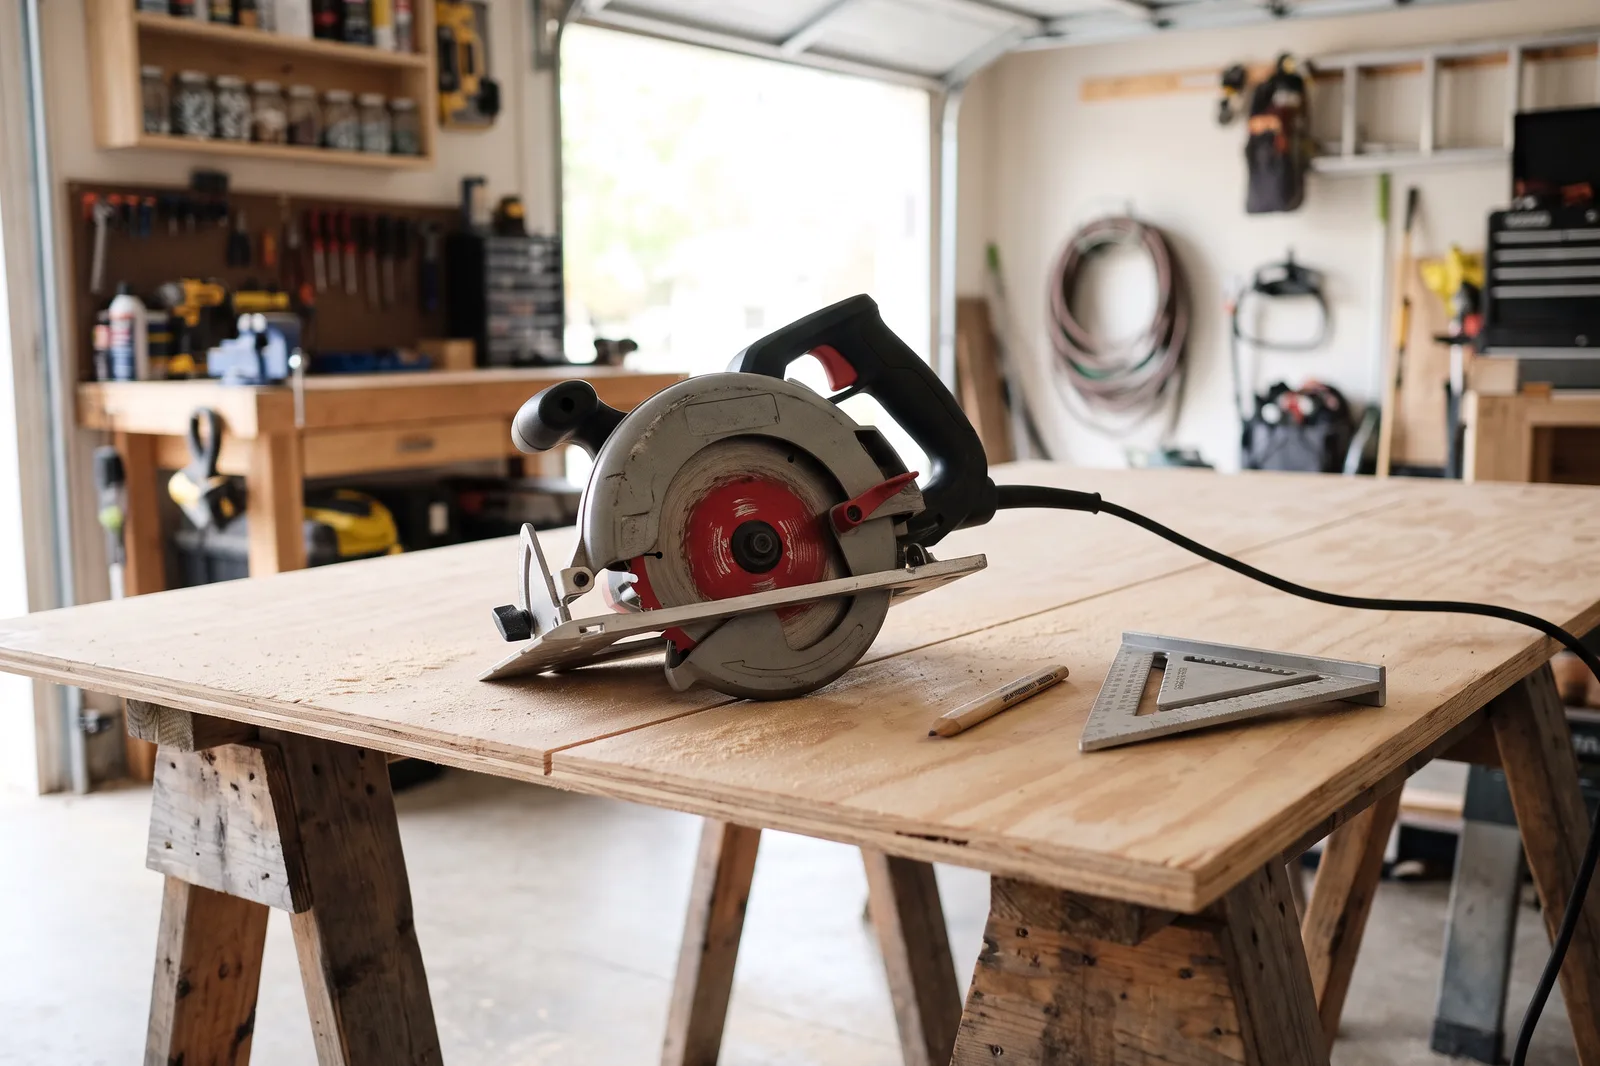 Power ToolsCircular Saw: The Power Saw Most Homeowners Should Own FirstA circular saw is a handheld power saw with a round toothed blade that cuts boards and sheets of plywood in a few seconds.
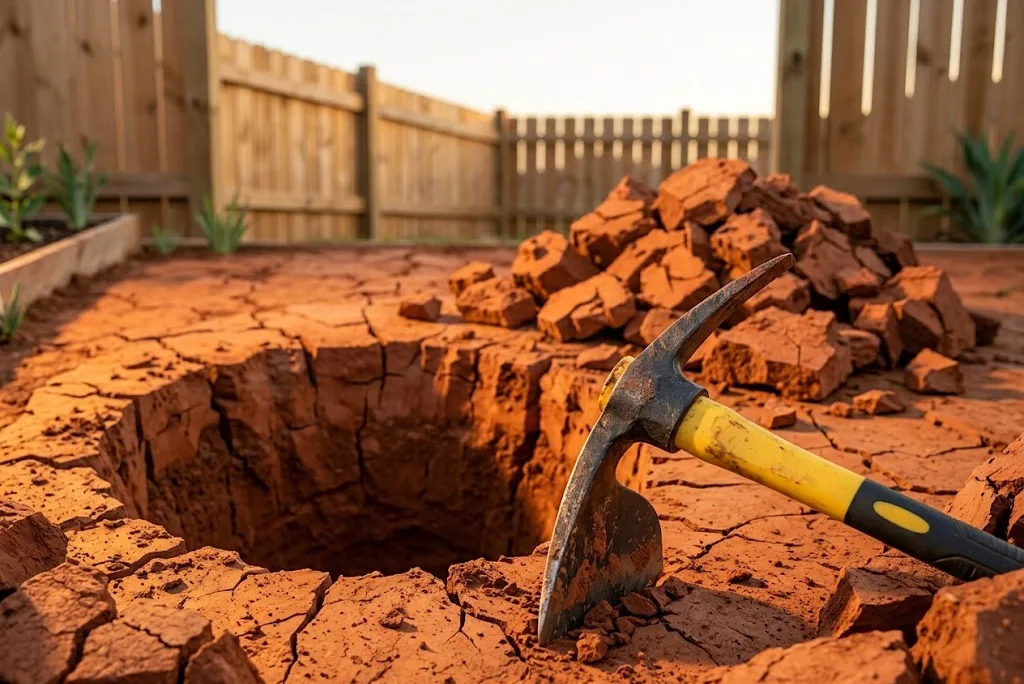 Outdoor & GardenPick Mattock: The Digging Tool for Ground a Shovel Cannot BreakA pick mattock is a heavy digging tool with a pick on one side and a flat chopping blade (an adze) on the other.
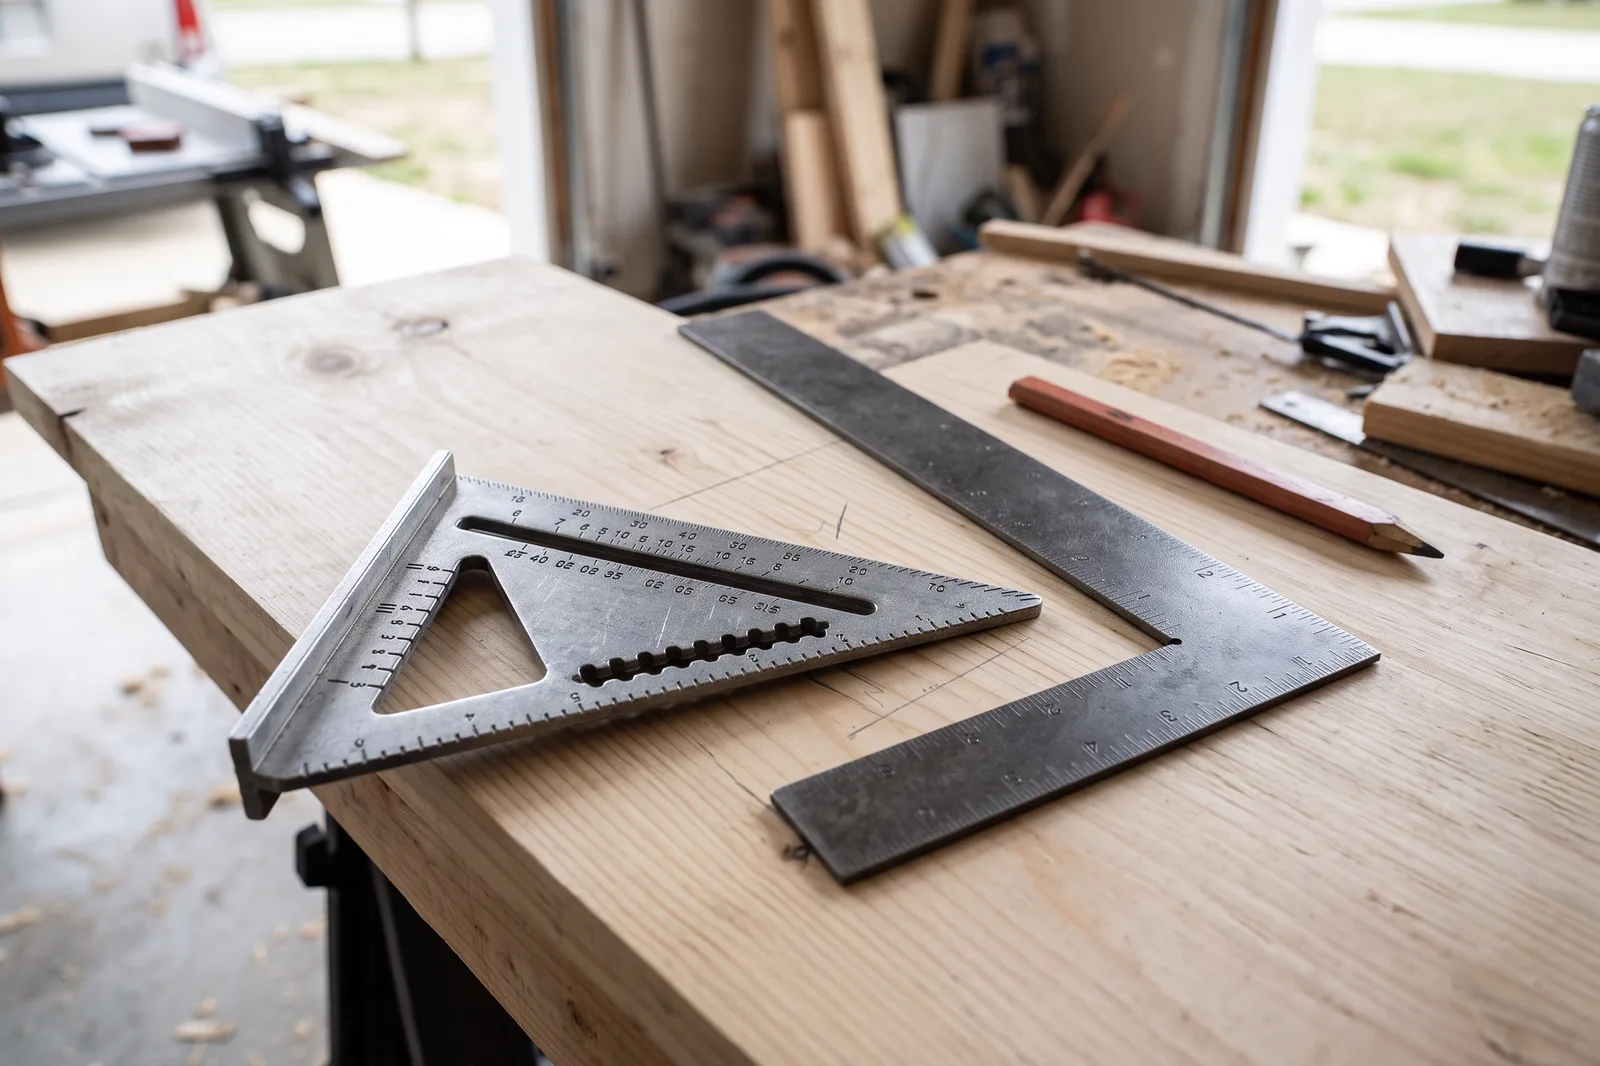 Measuring & LayoutSpeed Square and Framing Square: Two Layout Tools Worth OwningA speed square is a small aluminum triangle for marking square and angled cuts on boards, and a framing square is a large steel L for checking corners and laying out stairs and rafters.