Hand Tools · Single tool · DIY · Pro
Pry Bar and Crowbar: The Leverage Tool Every Home Needs

Our verdict
Estwing Handy Bar HB-15, 15 inch Pry Bar
9/10
Worth-owning score
Price tier Budget ($)
View on AmazonOur own score from specs, buyer reviews and tests. Not a customer rating. Photo from the Amazon listing.
Quick answer
A pry bar is a flat steel bar with a thin, beveled end and a nail slot, used to lift trim, pull nails and separate boards with leverage. A crowbar (wrecking bar) is its heavier cousin for demolition. Most homeowners should own a 12 to 15 inch flat pry bar first; skip the big wrecking bar unless you tear things apart often.
What is a pry bar?
A pry bar is a flat steel bar with a thin, beveled end and one or more slots for gripping nails. You slide the thin end into a gap, push on the long end, and the bar turns your push into a strong lifting force. That is leverage, the same idea as a seesaw: a long arm on your side, a short arm on the work side.
A crowbar is the heavy cousin. Most people today call it a wrecking bar. It is a thick round or six-sided bar with a hooked "gooseneck" end and a chisel tip. It is made to tear apart framing, rip up old decking and break things that are meant to stay broken.
The wrong bar is a common cause of damage in old houses: baseboards cracked in half, or a fist-sized hole in the drywall behind a door casing. Most of it comes from a big wrecking bar, a screwdriver or a hammer claw being used where a thin flat bar belonged. Bob Vila's testers made a related point when they compared five bars on pallets and an old deck. They gave the win to a slim 15-inch flat bar because it was easy to control and left less damage on the work.
So this article treats the two bars as a pair, but it recommends the flat pry bar first. It does the careful jobs that come up in almost every home. The wrecking bar is a second tool for people who demolish things often.
The parts that matter
- The blade: the flat, thin end that slides behind trim or between boards. Thin and wide is what you want.
- The nail slot: a V-shaped notch that grips a nail shank so you can lever it out.
- The curve: the bend near one end. It acts as a fulcrum, the pivot point the bar rocks on.
- The body: the long section you push on. Longer means more leverage and less effort.
Why you'll want it
A pry bar earns its spot in the drawer the first time a baseboard has to come off for new flooring.
It saves the trim. Good trim is worth reusing, especially in older homes where the profile is hard to match. A thin bar lifts it without splitting it. A hammer claw or screwdriver usually cracks it.
It saves the wall. A wide blade spreads the force over more area. Add a putty knife behind it, and the drywall behind the trim stays smooth.
It pulls nails cleanly. The nail slot grips nails that a hammer claw cannot reach, including ones driven flush with the surface or bent over.
It opens stuck things. Painted-shut windows, jammed drawers, a lid on a bucket of old caulk. A pry bar gives you control and force at the same time.
It works for makers. If you reclaim wood from old pallets or fence boards, a pry bar separates boards with fewer split ends.
| Pros | Cons |
|---|---|
| Thin, wide blade slips behind trim and spreads the load, so trim and drywall take less damage. | Not made for heavy demolition. Framing and old decks are easier with a long wrecking bar. |
| Small enough to live in a drawer or tool bag, yet long enough to lift flooring and deck boards. | Some flat bars are thicker than ideal for delicate trim. Forum posters on woodworking sites mention reaching for a thinner bar or a putty knife for fussy jobs. |
| Nail slots pull nails a hammer claw cannot reach. | Cosmetic finish varies. One retail reviewer of the Estwing Handy Bar said the paint and label looked less polished than the maker's hammers, though they still rated the bar's strength highly. |
| A one-piece forged bar has no weld or joint that can fail. | Leverage is moderate at 15 inches. Stubborn framing nails may need a longer bar. |
| Costs little compared with most hand tools, so it is an easy first purchase. |
Where you will use one
- Flooring jobs: removing baseboards and shoe molding before new floors go in.
- Door and window trim: pulling casing to fix a door or replace a window.
- Cabinets: separating face frames or removing an old vanity.
- Outdoor work: lifting old deck boards and fence pickets.
- Small demolition: tile backer, paneling and old shelving.
- Everyday rescue: paint cans, stuck drawers and nailed-shut crates.
Flat bar or wrecking bar?
Pick the flat bar if your jobs are about removing things you want to keep, or keeping damage small. That covers trim, flooring, cabinets and most repairs.
Pick a wrecking bar if you are tearing out framing, old decks or plaster walls and nothing needs to survive. The long, thick body gives far more force, but it is too clumsy for trim. If you plan to open a wall, check first whether it carries load with the load-bearing wall checklist.
Many people end up owning both. Start with the flat bar; you will use it more often. For a full starter set, see the new homeowner toolkit.
Who it's for
- Homeowners replacing baseboards, door casing or flooring
- Renovators opening walls, cabinets or old decks
- Makers reclaiming wood from pallets and old boards
- Trades who need a bar that fits in a tool bag
Who should skip it
- People who only hang pictures. A claw hammer already pulls the odd nail.
- Anyone planning heavy demolition only. Get a long wrecking bar instead; a short flat bar will tire you out on framing.
- Renters with no projects. You will rarely need one, and borrowing is fine.
How to use it
These steps are for removing a baseboard or piece of trim without damage. The same method works for most careful prying jobs.
- Put on safety glasses and gloves. Nails snap and bars slip. Old trim also hides splinters.
- Score the paint line. Run a utility knife along the joint where the trim meets the wall. This stops the paint from tearing off the drywall when the trim lifts.
- Find the nails. Look for small filled dots in the trim. You want to pry near the nails, not between them, so the board does not bend and crack.
- Protect the wall. Hold a wide putty knife or a thin wood shim flat against the wall where you will pry. The bar presses on that instead of the drywall.
- Slide the blade in. Push the thin end of the bar into the gap between trim and wall. If it is tight, tap the end lightly with a hammer.
- Lift a little. Push the bar gently to open a small gap, about the width of a pencil. Do not try to pull the whole board free at once.
- Move along the board. Shift to the next nail and repeat. Work back and forth so the board comes off evenly.
- Wedge the gap. Slip a shim into each opened gap as you go, so the board does not spring back.
- Remove the board. Once every section is loose, lift the board away by hand.
- Pull the nails. Grip each nail with the nail slot and rock the bar over a scrap block. For finish nails, pull them through the back of the trim with pliers so the face stays clean.
Handy tips
Use a scrap block as a fulcrum. When you pull a nail, set a small piece of wood under the curved head of the bar. It raises the pivot point, gives more lift and protects the surface.
Short pushes beat one big heave. Most damage happens when someone tries to pop the whole board in one move. Small lifts at each nail are faster in the end.
Know what is behind the wall. Before prying near outlets, switches or plumbing, turn off power to that circuit and go slowly. Wires and pipes can sit close behind trim.
Label the pieces. If you plan to reinstall trim, number the back of each board with a pencil. It saves a lot of puzzle work later.
Common mistakes
- Prying against bare drywall. It crushes the paper face and leaves a dent you will have to patch.
- Using a screwdriver. The shaft bends and the tip snaps, sometimes toward your hand.
- Pulling nails straight up with brute force. Use the curve and a block. Let leverage do the work.
- Swinging a hammer hard at the bar. Light taps set the blade. Full swings make the bar jump.
What to look for when buying
A pry bar is a simple tool, but the small details decide whether it slides in cleanly or chews up your trim.
Length. For a first bar, about 12 to 15 inches is the sweet spot. It gives real leverage and still fits behind a toilet or inside a cabinet. Longer bars are for demolition. Bob Vila's guide describes flat "wonder bar" style tools as roughly 7 to 15 inches and wrecking bars as 30 inches or more.
A thin, beveled tip. The tip should be thin enough to slip into a hairline gap. A thick tip forces you to hammer it in, which dents the trim.
A wide blade. Wider spreads the force. That means smaller marks on the wall and trim, and less chance of cracking a board.
One-piece forged steel. Forging shapes hot steel under pressure, which makes a strong, solid bar. Avoid bars made of thin stamped sheet or welded parts for heavy prying. They bend.
Good nail slots. Look for slots at both ends, with sharp beveled edges that grip the nail shank. A nail slot that is too wide lets the nail slip out.
A useful curve. A gentle curve on one end gives a built-in fulcrum. A sharper bend at the other end helps in tight spaces.
A rust-resistant finish. Paint or a coating helps if the bar lives in a garage, shed or truck.
Warranty. Warranty terms differ by seller and region. Some listings of the Estwing bar mention a lifetime warranty and others a shorter one, so read the listing you buy from.
Weight is worth a thought too. A heavy bar feels solid but tires your arm overhead. A light flat bar is easier for trim and ceiling work.
Key specs to look for
| Spec | What to look for |
|---|---|
| Length | About 12 to 15 inches for a first bar. Longer gives more leverage but is harder to use in tight spots. |
| Blade thickness | A thin, beveled tip that slides into a narrow gap without a hammer blow. |
| Blade width | A wide blade spreads the force and leaves smaller dents in trim and drywall. |
| Construction | One-piece forged steel. Avoid bars made from welded or stamped parts for heavy prying. |
| Nail slots | Beveled slots at both ends that grip a nail shank tightly, so you can pull from either end. |
| Curve | A curved end works as a built-in fulcrum, the pivot point that turns a push into lifting force. |
| Finish | A painted or coated finish that resists rust if the bar lives in a damp garage or truck. |
Where to get it
We picked the Estwing Handy Bar HB-15 as a first pry bar. According to the listing, it is 15 inches long, forged in one piece of steel and has an extra-wide blade. Retailer listings describe the blade as about 1-3/4 inches wide and the bar as roughly 14 ounces, with a half-round profile that keeps weight down.
Here is why it fits a first purchase. The wide, thin blade is what protects trim and walls, and that is the job most homeowners need a bar for. The 15-inch length gives enough leverage to lift old flooring and deck boards, without being too long for trim work. A one-piece forged bar has no joint to fail.
We could not find independent lab tests of this exact model. Most of what is public is the maker's description, retailer listings and a few buyer comments, which lean positive on strength and leverage and mention a plain finish. The closest independent test we found, by Bob Vila’s team, covered other bars and favored a slim 15-inch flat bar for baseboard work, which is the same design idea.
It is not the right tool for heavy demolition. If you plan to tear out framing or an old deck, add a longer wrecking bar later.

Estwing Handy Bar HB-15, 15 inch Pry Bar
- Forged in one piece of steel, according to the listing, so there is no weld or joint to snap
- A wide, thin blade slips behind trim and spreads the force over more of the wall
- Long enough for real leverage, short enough for a kitchen drawer or tool bag
How we scored it
Usefulness 9/10 · Value 9/10 · Durability 9/10. This is our own opinion, based on specs, buyer reviews and independent tests. It is not an Amazon or customer rating.
Pair it with a utility knife, a wide putty knife and a pair of pliers, and you can take apart almost any trim in the house without damage. For pliers, see 5 pliers every homeowner should own.
Watch and read more
Video reviews
- Different Types of Pry Bars, Explained — Power Home Remodeling
A walk through the main bar types, which helps you see how a flat bar differs from a wrecking bar. - Carpenters Pry Bar & Nail Puller Review & Comparison — Catus Maximus
A tour of several carpenter's pry bars, including Estwing and Stanley flat bars and cat's paws. The reviewer says quality differences between the main brands are small, and advises checking the grind on the tip before you buy. - How To Remove Baseboard (Without Breaking It) | Saving Old Moldings — Ball Home Repair
A baseboard removal demo aimed at keeping the old trim in one piece.
Free calculators FigureMyHome
- Is This Wall Load-Bearing? — Run this checklist before you open up or tear out a wall.
Frequently asked questions
What is the difference between a pry bar and a crowbar?
A pry bar is usually flat, thin and shorter, made for careful work like trim and nails. A crowbar, also called a wrecking bar, is a thick round or hex bar with a hooked end, made for heavy demolition.
What size pry bar should I buy first?
A flat bar of about 12 to 15 inches covers most jobs around a house. Add a longer wrecking bar later only if you take on demolition.
How do I remove trim without damaging the wall?
Score the paint line with a utility knife, then put a wide putty knife or thin wood shim against the wall and pry against that instead of the drywall. Work in small steps along the board.
Can I use a screwdriver as a pry bar?
It is a bad idea. Screwdriver shafts bend and tips snap, and the handle can split. A pry bar is made to take that load.
How do I pull a nail with no head?
Tap the thin nail slot under the shank so it grips the nail, then rock the bar over a scrap block. For finish nails in trim, it is often cleaner to pull them through from the back with pliers.
Is a pry bar safe to strike with a hammer?
Many forged bars are made to be tapped with a hammer to set the blade. Wear safety glasses and use light, controlled blows, not full swings.
Sources
Related tools
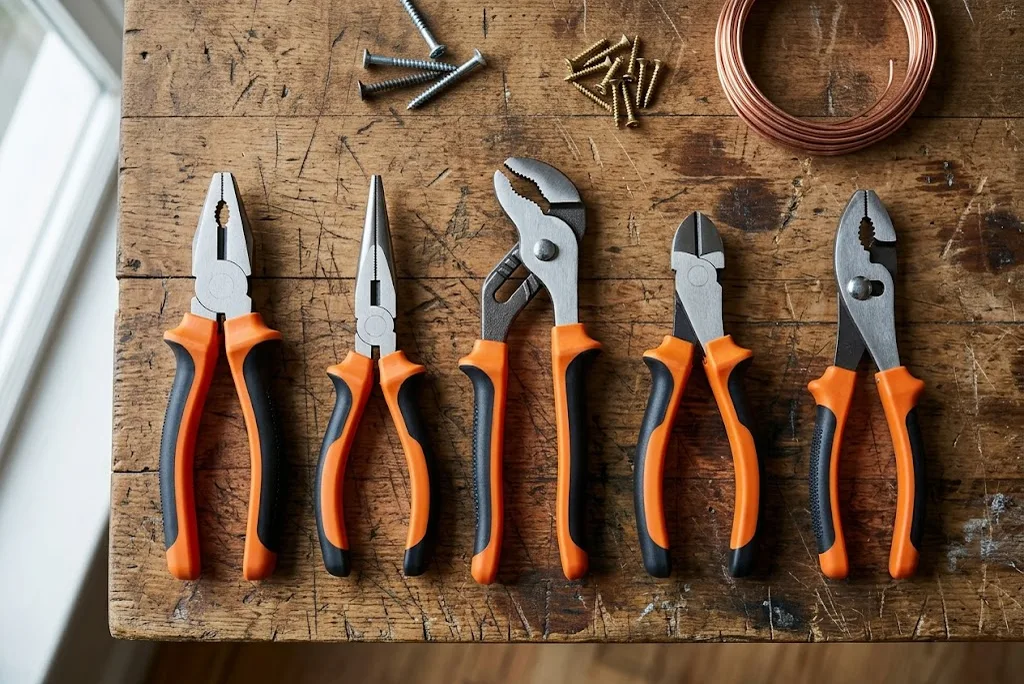 Hand Tools · Roundup5 Pliers Every Homeowner Should Own (and What Each One Does)Most homeowners need five pliers: lineman's pliers for cutting and gripping, long-nose pliers for tight spots, tongue-and-groove pliers for pipes and big nuts, diagonal cutters for wire, and slip-joint pliers for general grabbing.
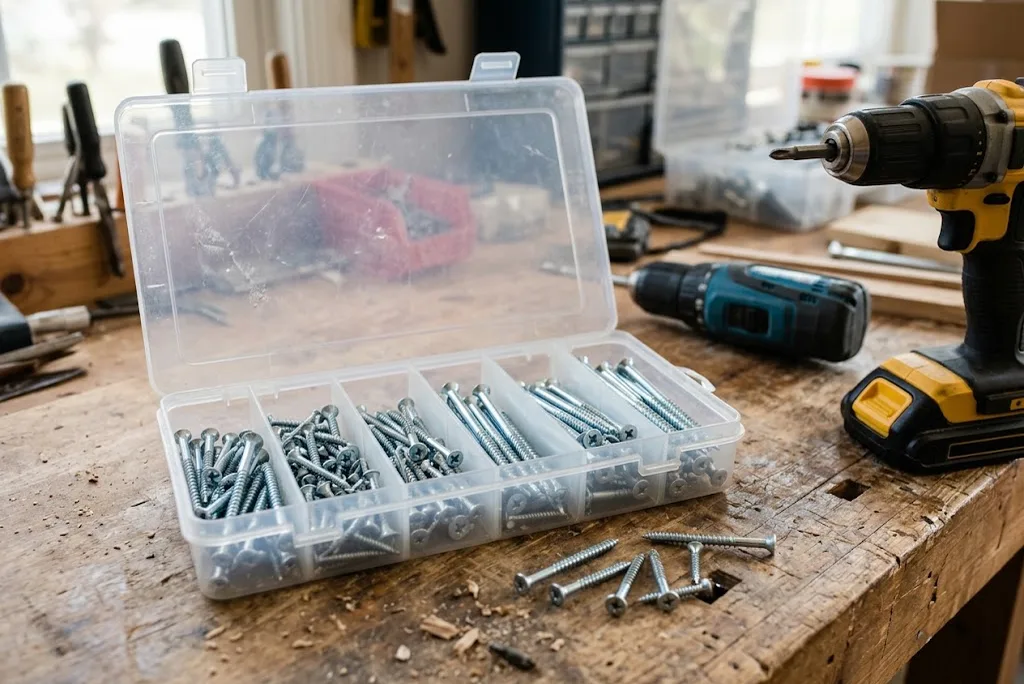 Fasteners & HardwareScrew Assortment Set: The Box That Saves You a Trip to the StoreA screw assortment set is a compartment box holding a mix of common screw sizes.
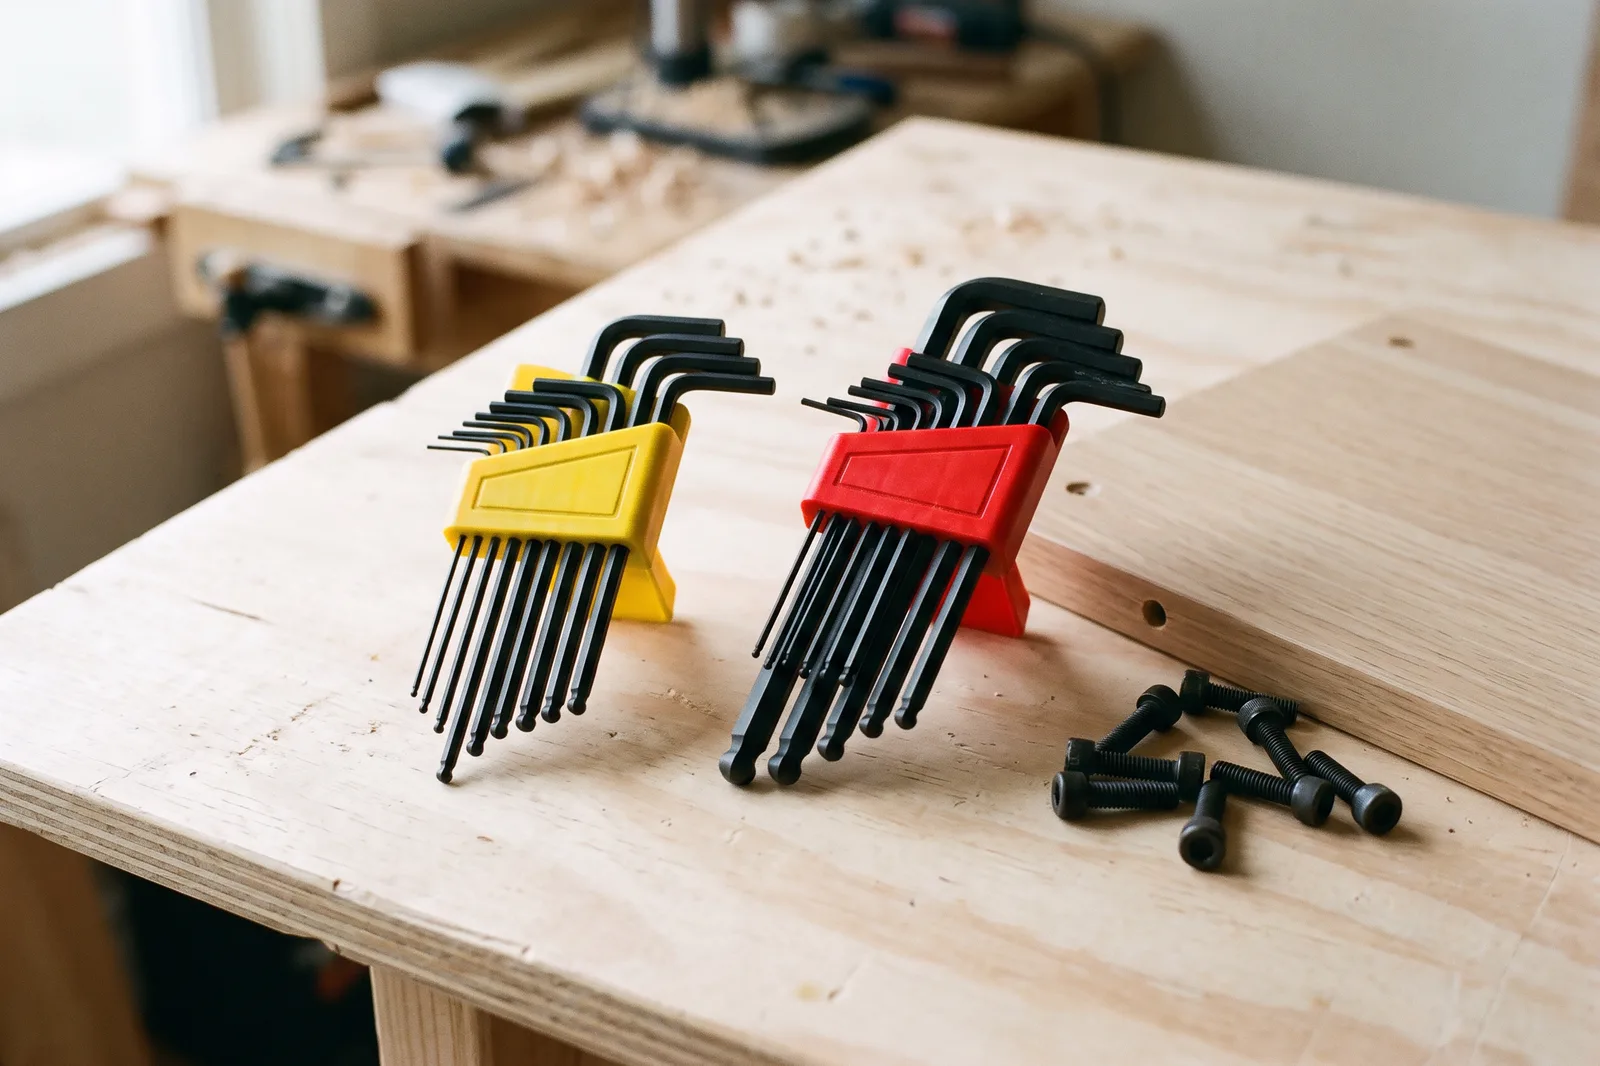 Hand ToolsHex Key Set: The Small L-Keys Behind Every Flat-Pack and Bike FixA hex key set is a bundle of L-shaped steel keys that turn bolts with a six-sided socket, the kind in flat-pack furniture, bikes and appliances.