
Workshop & Storage · Project · Maker · DIY
Tools Needed to Build a Simple Workbench
 IRWIN QUICK-GRIP Bar Clamp, 24-Inch (223124)
 Johnson Level & Tool 400EM-S Combination Square, 12-Inch
 Makita BO5041K 5-Inch Random Orbit Sander
Photos from the Amazon listings. Scores are our own, not customer ratings.
Quick answer
A simple workbench is 2x4 legs and rails with a plywood or MDF top, so you need a saw, a cordless drill/driver, a tape measure, a square and a few clamps. A random orbit sander is a nice extra for smoothing the top. Skip building if you want a heavy hardwood bench with vises and dog holes, which needs more tools and skill.
What tools do you need to build a simple workbench?
A basic workbench is a table that does not move. It has four sturdy legs, rails to hold them together and a flat, heavy top. You can build one from 2x4 lumber and a sheet of plywood or MDF in a weekend.
The tools fall into three groups.
Must have:
- A saw to cut the 2x4s and the top. A circular saw handles both. A miter saw makes the square cuts quicker.
- A cordless drill/driver to drill pilot holes and drive screws.
- A tape measure and pencil.
- A square to mark and check right angles. A speed square works, and so does the combination square below.
Make life easier:
- Clamps. They hold parts in place while you screw.
- A level to set the finished bench flat.
Nice finish:
- A random orbit sander to smooth the top and soften the edges.
Add safety glasses, hearing protection when you saw, and a dust mask when you sand.
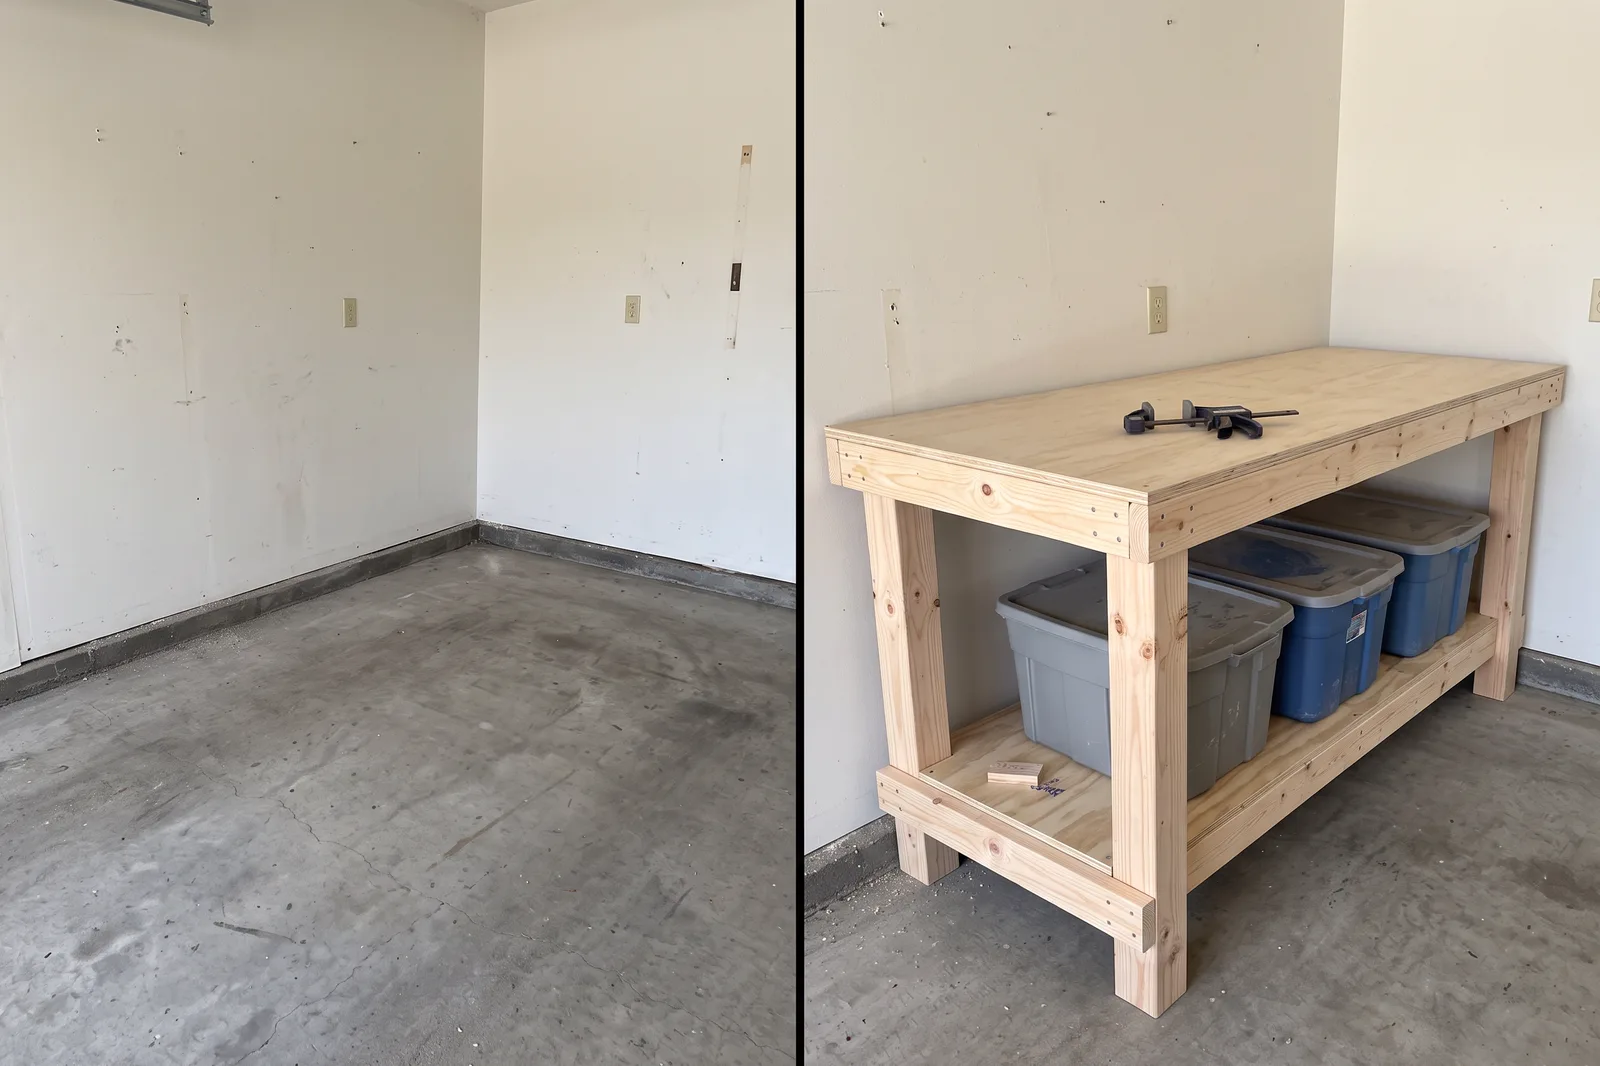
Why these tools matter for a bench
A bench must be square. If legs and rails do not meet at right angles, the bench rocks and the top twists. A combination square checks each joint and marks the cuts. In its Amazon review summary, buyers of the Johnson 12-inch model say it is accurate, with measurements lining up with other rulers, and that it is durable. The locking mechanism gets mixed feedback, so tighten it fully and check it.
Clamps are the extra hands. Screwing a rail to a leg while holding both is awkward. A one-handed bar clamp pins the parts together. The IRWIN QUICK-GRIP summary says buyers find it works well and is durable, with mixed comments on the grip pads, and one buyer reported the rubber end slipping off. Inspect the pads and keep a spare.
A sander makes the bench nicer to use. A raw plywood top has splinters and sharp edges. A random orbit sander, which moves the pad in tiny overlapping circles so it leaves no straight scratches, smooths it in minutes. Buyers of the Makita model praise its power, its dust collection and its low vibration, according to the listing's summary.
You do not need to buy everything at once. Borrow or rent a saw if you must, and ask the store to cut your lumber. The drill and the clamps do the most to make the build easier.
Who it's for
- First-time builders who want a sturdy surface for projects
- Makers and hobbyists setting up a corner of the garage
- Renters and small-space DIYers who want a bench built to their own size
- Anyone tired of working on the floor or a folding table
Who should skip it
- People who want a traditional hardwood bench. That needs more skill, more tools and a lot more time.
- Anyone with little space. A folding or wall-mounted bench might suit better.
- People who rarely build. A ready-made bench or a work table can be faster.
How to build the bench, step by step
These steps follow the common beginner approach: a 2x4 frame with a plywood top. Use the plan you pick for exact sizes, and read each tool's manual.
- Decide the size. Measure the space and the longest board you want to work on. A depth of about two feet and a length of four to six feet suit many garages.
- Make a cut list. Four legs, four long rails and four short rails make the basic frame. Add a lower shelf rail if you want storage.
- Buy straight lumber. Look down each board and avoid bowed or twisted ones.
- Cut the 2x4s. Mark with the square, wear glasses and cut. Cut matching pieces together so they are the same length.
- Build two end frames. Lay out two legs and the short rails, clamp the joints, drill pilot holes and drive the screws. Check each corner with the square.
- Join the end frames. Stand them up and add the long rails. Check the diagonals: if both corners measure the same, the frame is square.
- Add bracing. A lower shelf or a diagonal brace stops the bench rocking side to side.
- Cut the top. Cut the plywood or MDF to size. Two layers screwed and glued together make a flatter, heavier top.
- Fasten the top. Screw down through the top into the frame from above, with the screw heads sunk just below the surface.
- Level the bench. Put a level on the top. Shim or trim a leg if it rocks.
- Sand and finish. Round over the edges, sand the top smooth and, if you like, add a coat of finish.
Mistakes to avoid
- Skipping pilot holes. 2x4s split near the ends.
- Using drywall screws. They snap under load.
- Building on an uneven floor and not checking. Level it before you load it.
- Making the top too thin. A thin top flexes and bounces.
What buyers say, and the pros and cons
Our research used the customer-review summaries on each listing and the build videos below.
| Pros of building your own bench | Cons |
|---|---|
| Easy to scale. You choose the size, and a stronger frame needs only more lumber. | A first build takes longer than expected. Plan a weekend. |
| Easy to modify. You can add a shelf, a vise or a power strip later. | Raw plywood is rough. Sand it, and expect some wear. |
| Skills carry over. The same cuts and joints show up in nearly every shop project. | You still need a place to store the tools. A bench with a lower shelf helps. |
What to look for when buying each tool
Clamps. Bar clamps with a one-handed trigger are easiest for a first buyer. Look at the reach (24 inches suits most bench frames), the clamp pads and how firmly the bar locks. Quick-release clamps are fast, but pads can come loose, as one reviewer noted, so check them from time to time. Two clamps are a good start, and four are better.
Combination square. A 12-inch steel combination square has a ruler and a sliding head. It marks a square line, a 45-degree line and a repeated depth. Look for a flat, straight blade and a head that locks without wiggling. To test it, draw a line against the blade on a straight board, flip the square and draw it again. If the two lines coincide, it is square.
Saw. Pick a circular saw for lumber and sheets, and add a miter saw later if you cut many square crosscuts. A speed square is a handy guide.
Sander. A 5-inch random orbit sander is the usual size. Look for a model with variable speed, a good dust bag and a comfortable grip. Start with a medium grit disc on a rough top and finish with a finer one.
Drill/driver. Any cordless drill/driver with a clutch works. A kit with a charger is the simplest buy.
Helpful extras
- A level to set the finished top flat.
- A rubber mallet to tap a joint into place.
- Wood glue. Glue between top layers adds stiffness.
- A dust mask and hearing protection.
Choosing the top and the frame
A bench top is the part you will work on most, so spend your time there. Two layers of 3/4-inch plywood or MDF give a flat, stiff surface. MDF is very flat but swells if it gets wet, and plywood is tougher but may show grain. A replaceable top layer is smart, because glue, cuts and screws will mark it.
For the frame, the wood should be straight and dry. Lumber from a home center is often damp and can move as it dries, so sort through the pile and let boards sit in your garage for a few days before cutting.
Making the bench stable
A bench that wobbles is frustrating. Fix racking (the frame leaning side to side) with a lower shelf or diagonal braces. If you plan to hit things with a hammer or plane wood, add weight low on the bench, such as a shelf with heavy storage. A heavier bench stays put.
Key specs to look for
| Spec | What to look for |
|---|---|
| Saw | A circular saw cuts the 2x4s and the top. A miter saw makes faster, cleaner square cuts on the 2x4s. See our guides for both. |
| Drill/driver | A cordless drill/driver with a clutch drills pilot holes and sinks long wood screws without stripping them. |
| Clamp reach | A 24-inch bar clamp opens wide enough for most bench frames. Two or more is better than one. |
| Clamp grip | Check the pads are rubber or plastic so they do not dent the wood, and that the pads stay on. |
| Square blade length | A 12-inch combination square is long enough to mark across a 2x4 and to check frame corners. |
| Sander pad size | A 5-inch random orbit sander is the common size, uses widely sold hook-and-loop discs and leaves no swirl marks. |
| Dust control | A dust bag or a vacuum port. Fine wood dust is worth keeping out of the air. |
| Screws | Construction or structural wood screws long enough to pass through one 2x4 and bite deep into the next. |
Where to get the tools
Here are three tools worth owning for this project. All are widely stocked.

IRWIN QUICK-GRIP Bar Clamp, 24-Inch (223124)
- One-handed clamping holds a leg, rail or top while you drive screws
- A 24-inch reach spans most bench frames
- Buyers call it durable
How we scored it
Usefulness 9/10 · Value 8/10 · Durability 8/10. This is our own opinion, based on specs, buyer reviews and independent tests. It is not an Amazon or customer rating.

Johnson Level & Tool 400EM-S Combination Square, 12-Inch
- Marks square lines and checks that legs and rails meet at right angles
- Also sets a depth or a repeat measurement
- Buyers report that it matches other rulers
How we scored it
Usefulness 9/10 · Value 9/10 · Durability 8/10. This is our own opinion, based on specs, buyer reviews and independent tests. It is not an Amazon or customer rating.

Makita BO5041K 5-Inch Random Orbit Sander
- Flattens saw marks and rounds sharp edges on the bench top
- Variable speed and a dust bag, per the listing
- Buyers report low vibration
How we scored it
Usefulness 7/10 · Value 8/10 · Durability 8/10. This is our own opinion, based on specs, buyer reviews and independent tests. It is not an Amazon or customer rating.
If you do not own a saw, read our circular saw guide first. For a saw guide and fast square marks, see the speed square and framing square article. Buy a second clamp, safety glasses and a dust mask the same day.

Frequently asked questions
What is the fewest tools I need for a workbench?
A saw, a cordless drill/driver, a tape measure, a pencil and a square. Clamps make it easier and a sander makes the top nicer. Safety glasses are not optional.
How tall should a workbench be?
Many people start near the height of their wrist when their arm hangs by their side, then adjust. Hand-tool work is often more comfortable lower and detail work higher. Make the legs a little long and trim them to suit.
What should I use for the top?
Two layers of plywood or MDF glued and screwed together make a flat, heavy top. Plywood resists dents, while MDF is very flat but dislikes water. A sacrificial layer on top can be replaced when it wears out.
Do I need clamps?
Yes, they make building much easier. Clamps hold a rail in place while you drill and screw, and they keep parts from sliding. Two or more bar clamps are a good start.
How do I keep the bench from wobbling?
Cut every piece to matching lengths, check each frame for square before the final screws, and add a lower shelf or diagonal brace. If the floor is uneven, adjustable feet or shims help.
Can I use a circular saw for everything?
For a simple bench, mostly yes. Use a speed square or a clamped straight edge as a guide. A miter saw makes the square cuts faster if you own one.
Sources
Related tools
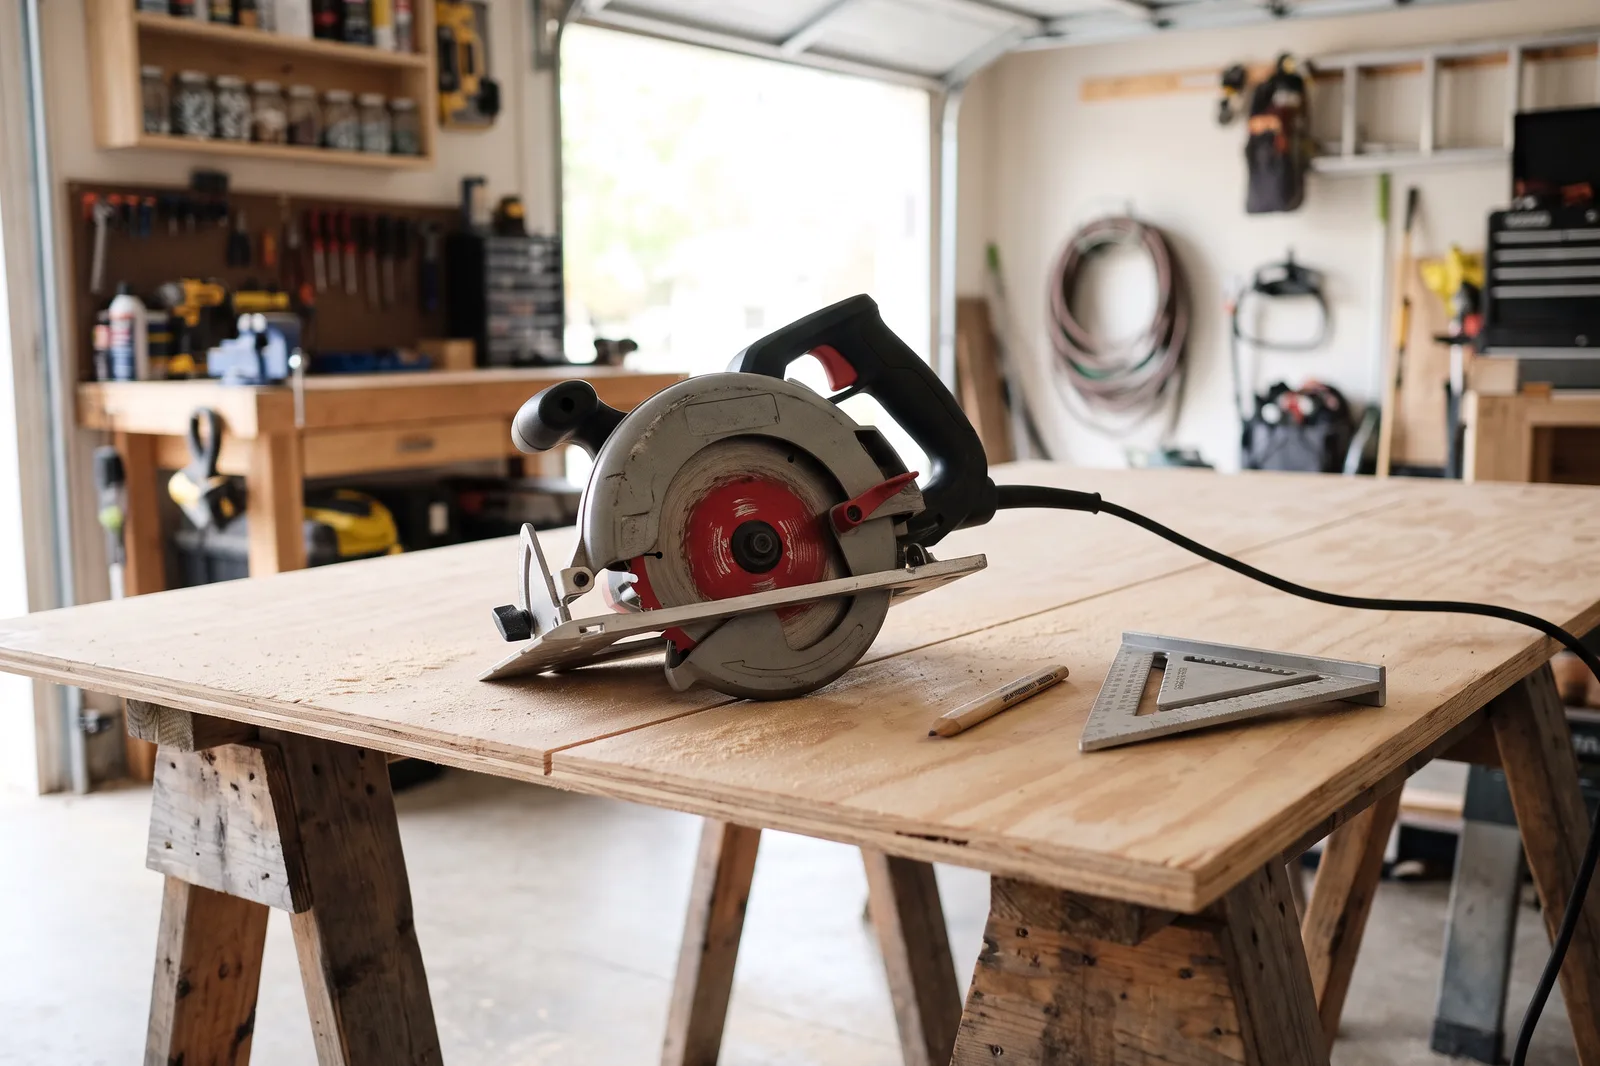 Power ToolsCircular Saw: The Power Saw Most Homeowners Should Own FirstA circular saw is a handheld power saw with a round toothed blade that cuts boards and sheets of plywood in a few seconds.
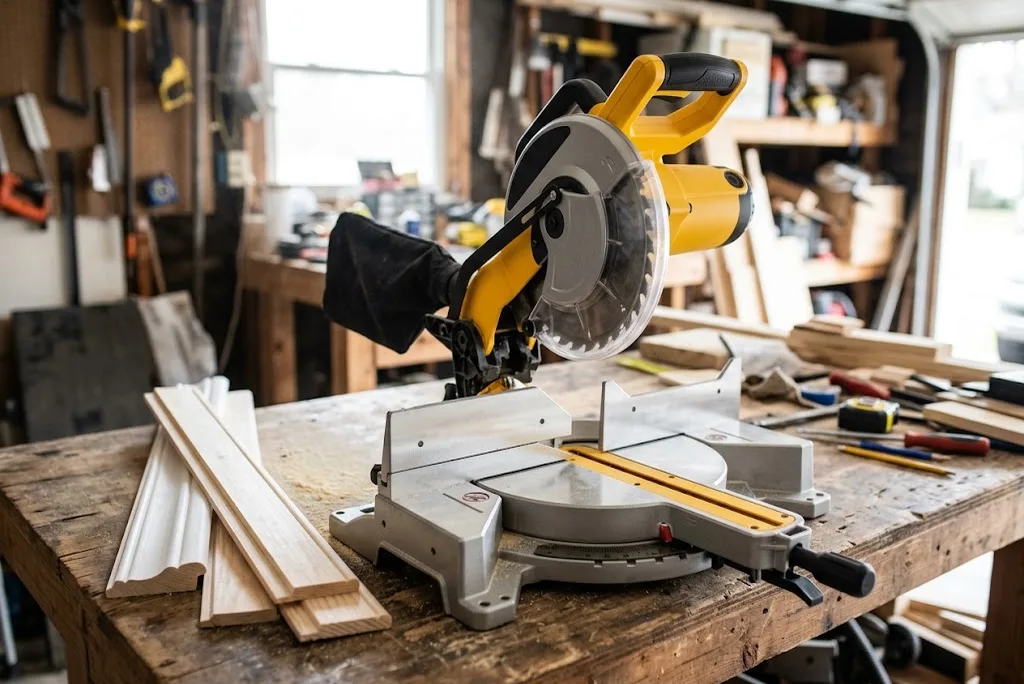 Power ToolsMiter Saw: The Fast, Accurate Way to Cut Trim and FramingA miter saw is a circular saw mounted on an arm that swings down onto a board held against a fence, so it makes fast, repeatable angled and square crosscuts.
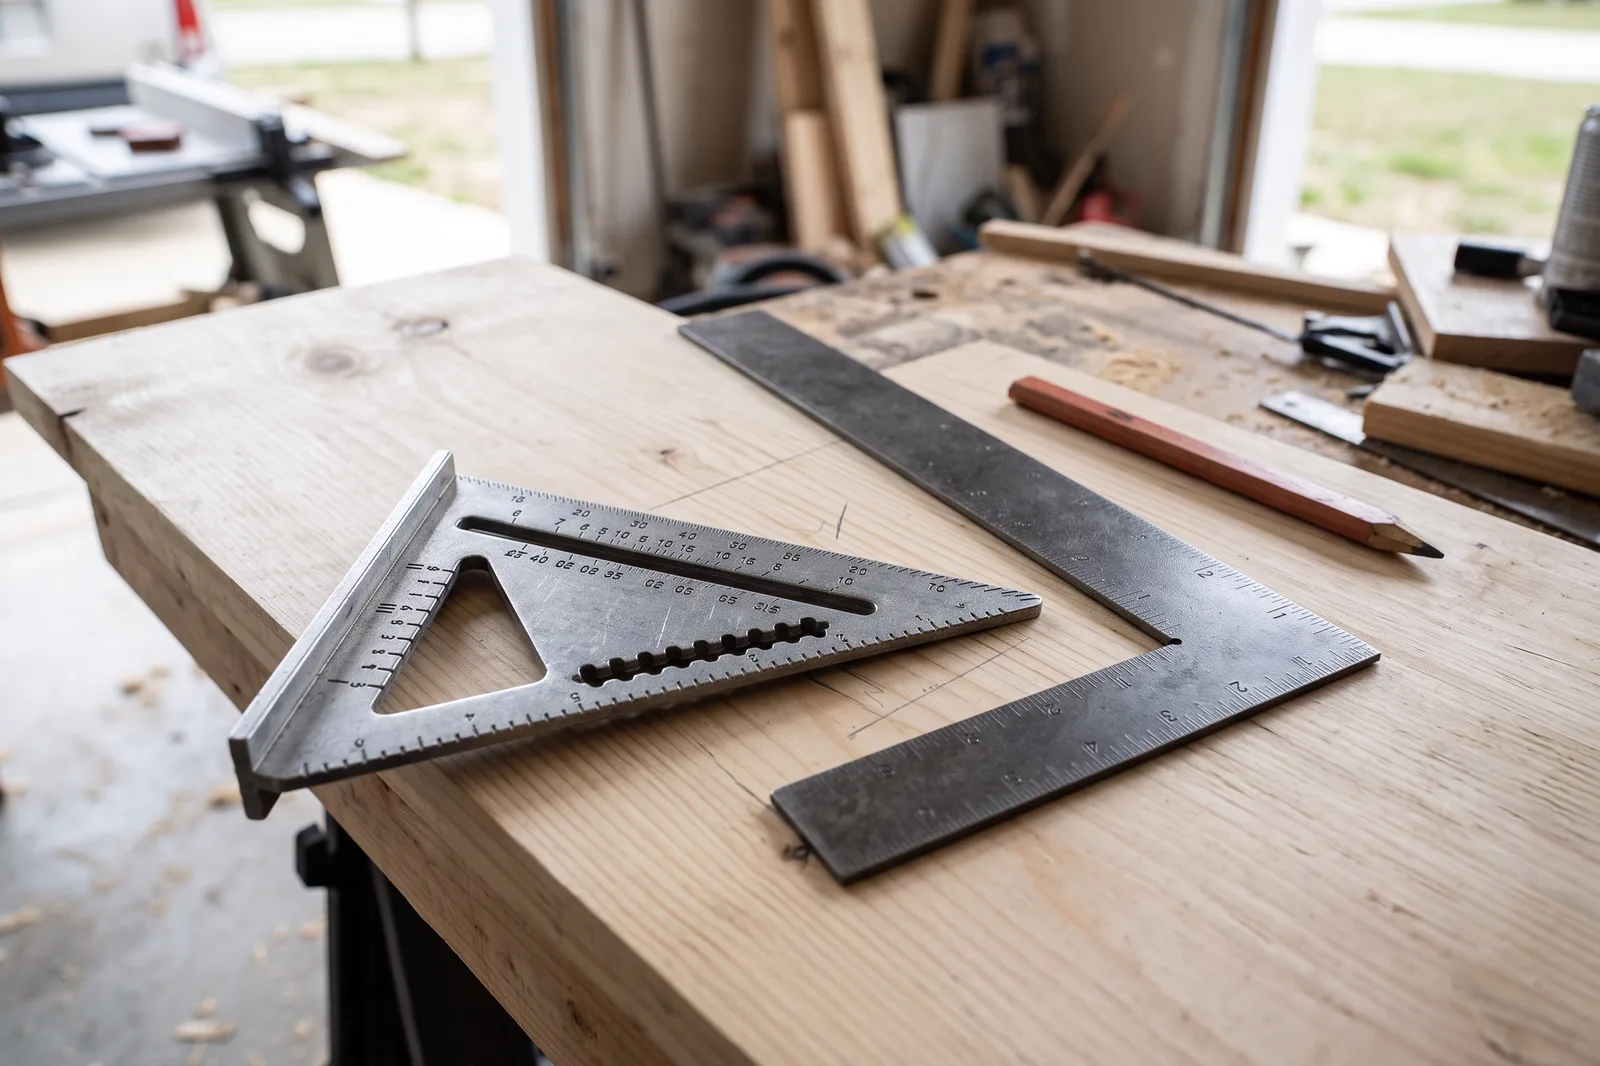 Measuring & LayoutSpeed Square and Framing Square: Two Layout Tools Worth OwningA speed square is a small aluminum triangle for marking square and angled cuts on boards, and a framing square is a large steel L for checking corners and laying out stairs and rafters.