
Power Tools · Single tool · DIY · Pro
Pneumatic Nail Gun: The Fast Way to Hang Trim Without a Hammer

Our verdict
BOSTITCH Smart Point 18GA Pneumatic Brad Nailer Kit (BTFP12233)
8.7/10
Worth-owning score
Price tier Mid ($$)
View on AmazonOur own score from specs, buyer reviews and tests. Not a customer rating. Photo from the Amazon listing.
Quick answer
A pneumatic nail gun uses compressed air from a compressor to drive a nail in a fraction of a second. For most homeowners the first one should be an 18-gauge brad nailer for trim, molding and small builds. Skip it if you have no compressor and only nail a few things a year; a hammer or a cordless nailer is simpler.
What is a pneumatic nail gun?
A pneumatic nail gun, or nailer, is a tool that drives a nail with a burst of compressed air. A hose connects it to an air compressor, a motor-driven pump that fills a tank with air under pressure. When you press the nose against the wood and pull the trigger, a piston slams the nail in faster than you can blink.
Nails come glued together in strips, which you load into the magazine under the handle, so you can fire one after another without stopping to pick up a nail.
The three types people mean
Nail guns are sorted by the size of the nail they shoot. Gauge is the wire thickness: the higher the number, the thinner the nail.
| Type | Nail | Typical jobs |
|---|---|---|
| Brad nailer | 18-gauge, thin, small head | Thin trim, shoe molding, picture frames, small shelves and boxes |
| Finish nailer | 15- or 16-gauge, thicker | Baseboard, door and window casing, crown molding, cabinets |
| Framing nailer | Large nails, about 2 to 3-1/2 inch | Wall studs, sheds, decks, rafters |
There are also pin nailers (23-gauge, nearly invisible) and roofing nailers, but those are specialist tools.
For most homeowners, the first nailer is an 18-gauge brad nailer. Guides such as HGTV's note that brads hold light trim well but are too thin for heavy molding or lumber like 2x4s. Many people later add a finish nailer for thick baseboard and casing. A framing nailer only makes sense for structural projects.
Why you'll want one
Speed. A brad nailer fires a nail in an instant. A wall of baseboard that takes an afternoon with a hammer goes up in a fraction of the time.
No hammer marks. A hammer that misses dents the trim. A nailer never touches the face of the wood, and a rubber no-mar tip keeps the nose from scuffing it.
One hand holds the piece. You hold the trim in place with one hand and fire with the other. With a hammer you need three hands: one for the nail, one for the hammer and one for the board.
Less splitting. Thin brads are much less likely to split narrow trim than a hand-driven finish nail, and the head sinks below the surface ready for a dab of filler.
It holds glue-ups. Woodworkers use brads to hold a joint while the glue dries, then the glue does the real work. That makes a brad nailer handy for boxes, drawers, shelves and picture frames.
What buyers and testers say
Across buyer reviews and hands-on tests, the same points come up for the brad nailer we feature, the BOSTITCH Smart Point BTFP12233:
- Praised: the small nose that shows where the nail lands, reliable firing with very few jams, and the wide range of brad lengths. Bob Vila's woodshop tester fired more than 200 brads into oak, ash and pine and reported no jams, and ToolGuyd's reviewer also reported no jams over a couple hundred nails.
- Common complaints: the depth dial is small and tucked under the trigger, the air fitting does not swivel so the hose can pull on the tool, and the exhaust port is fixed, so air can puff toward you or blow dust around.
- Depth varies with the wood. ToolGuyd noted depth stayed consistent in uniform material but changes when you hit a knot or harder wood, which is true of nearly every nailer.

Who it's for
- Homeowners replacing baseboards, casing or shoe molding
- DIYers building shelves, cabinets and picture frames
- Anyone who already owns an air compressor or plans to buy one
- Renovators who nail hundreds of pieces of trim per project
Who should skip it
- People with no compressor who nail only a few things a year. A hammer and nail set, or a cordless brad nailer, is simpler.
- Anyone framing walls, decks or sheds. A brad nailer is too light; rent or buy a framing nailer for that job.
- Heavy, wide trim and stair parts. A 15- or 16-gauge finish nailer holds better.
How to use it
Read your nailer's manual first; pressures and steps differ by model. This is the routine most safety guides teach.
- Put on safety glasses. Nails can ricochet off knots or hidden metal. Hearing protection helps too.
- Set the compressor pressure. Turn the regulator to a pressure inside the range printed on your nailer, starting at the low end.
- Check the nail length. A common rule for trim is a nail long enough to go through the trim and at least as deep again into the wall framing or the piece behind it.
- Load the nails. Disconnect the air, open the magazine, drop in a strip with the points facing down toward the nose, and close it.
- Connect the air hose. Push the quick-connect until it clicks. Keep your finger off the trigger and the nose pointed away from you.
- Choose single-fire mode. Sequential (single) fire shoots only when you press the nose and then pull the trigger. It is the safer mode for beginners and for careful trim work.
- Test on a scrap. Fire a few nails into scrap of the same wood. Turn the depth control until the head sits just below the surface.
- Hold the trim and press the nose flat. Keep your free hand well away from the nose, at least a hand's width, and never in line with where the nail could exit.
- Fire and move on. Pull the trigger once, lift, move to the next spot. Space trim nails about every 16 inches into studs, and add a pair near each end.
- Clear jams with the air off. Disconnect the hose, open the jam latch on the nose, remove the bent nail with pliers, close it and reconnect.
- Fill and finish. Fill the nail holes with wood filler or colored putty, sand lightly, then paint or stain.
- Disconnect and drain. Unplug the hose when you are done, and open the compressor's tank drain valve so water does not rust the tank.
Common mistakes
- Nailing near the end of a board. Even brads can split the last inch. Angle the nail slightly or pre-drill.
- Pressure too high. Too much air blows the head deep and tears the wood. Turn it down before turning the depth dial all the way.
- Bump-firing trim. Bump (contact) fire is fast but easy to double-fire. Save it for rough work like nailing down plywood.
- Forgetting what is behind the wall. Brads can hit wires and pipes. Nail into studs and avoid the area right above and below outlets.

What to look for when buying
Type first. Decide on the jobs before the brand. Light trim and small builds → 18-gauge brad nailer. Thick baseboard, casing and stairs → 16- or 15-gauge finish nailer. Framing → a framing nailer, which many homeowners rent for one project.
Pneumatic or cordless. A pneumatic nailer is lighter, fires instantly and usually costs less, but you need a compressor and a hose. A cordless nailer is easier for quick jobs and attic or outdoor work. If you already own a compressor, pneumatic is the better value. If you already own a battery platform, look at that brand's cordless brad nailer.
Nail range. Look for 5/8 to 2 inches or more on a brad nailer. Longer brads let you nail through thicker casing into the framing.
A small nose and a no-mar tip. Being able to see where the nail lands is the difference between neat trim and patch work. Spare no-mar tips are a good sign.
Easy depth adjustment. Every reviewer of the model we feature mentioned the depth control. Look for one that turns without tools and that you can reach without flipping the tool over.
Tool-free jam release. Brad jams are rare on good nailers but they happen. A latch on the nose means no wrench hunting.
Oil-free. Oil-free tools will not spot bare wood and need less upkeep, which suits occasional users.
Selectable firing mode with a lock. Single and bump fire, with a selector that cannot slip, is the safest setup if other people borrow the tool.
Kit contents. A case, spare tips and a starter box of brads save a trip. You will still need a compressor, a hose with matching 1/4 inch fittings, and brads in the lengths you use.
Key specs to look for
| Spec | What to look for |
|---|---|
| Nailer type (gauge) | 18-gauge brad for thin trim and small builds. 15/16-gauge finish for baseboard, door casing and crown. Framing (about 2 to 3-1/2 inch nails) for studs, sheds and decks. |
| Nail length range | A brad nailer that takes 5/8 to 2 inches or more covers thin moldings and thicker casing. |
| Nose / tip | A small nose shows exactly where the nail lands. A rubber no-mar tip protects painted or prefinished wood. |
| Depth adjustment | Tool-free depth control lets you sink the head just below the surface for filling. Make sure it is easy to reach. |
| Firing modes | Single (sequential) fire for careful placement, bump (contact) fire for fast nailing. A lock on the selector is a plus. |
| Jam release | A tool-free latch on the nose clears bent nails in seconds without an Allen key. |
| Oil-free or oiled | Oil-free tools will not leave oil spots on bare wood. Oiled tools need a few drops in the air inlet every day you use them. |
| Air fitting | A 1/4 inch quick-connect is standard. A swivel fitting keeps the hose from fighting you. |
Where to get it
For this guide we feature the BOSTITCH Smart Point 18-gauge brad nailer kit (BTFP12233). According to the listing, it drives 18-gauge brads from 5/8 to 2-1/8 inch, has a smaller Smart Point nose that does not need a separate contact trip to be compressed, runs oil-free, and has a tool-free jam release and Dial-A-Depth control. Independent reviewers at Bob Vila and ToolGuyd both reported reliable, jam-free firing in their tests, and the common complaints are small: the depth dial, the fixed exhaust and a hose fitting that does not swivel. It sits in our mid tier.

BOSTITCH Smart Point 18GA Pneumatic Brad Nailer Kit (BTFP12233)
- Drives 18-gauge brads from 5/8 to 2-1/8 inch, per the listing
- Small Smart Point nose for exact placement on trim, plus a tool-free jam release
- Oil-free, with a Dial-A-Depth control to set how deep each brad sinks
How we scored it
Usefulness 9/10 · Value 9/10 · Durability 8/10. This is our own opinion, based on specs, buyer reviews and independent tests. It is not an Amazon or customer rating.
If you do not own a compressor yet, a small pancake compressor and a 25-foot hose are enough for brad nailing. Check the current listing and recent reviews before you buy. Cutting the trim is the other half of the job, so see our miter saw guide, and use the Feet-Inch Fraction Calculator to add up your trim lengths before you buy the boards.
Watch and read more
Free calculators FigureMyHome
- Feet-Inch Fraction Calculator — Add up trim lengths in feet, inches and fractions before you cut.
Frequently asked questions
What is the difference between a brad nailer and a finish nailer?
A brad nailer shoots thin 18-gauge nails that leave a tiny hole and suit thin trim and small builds. A finish nailer shoots thicker 15- or 16-gauge nails that hold heavier baseboard, door casing and crown better, but leave a bigger hole.
Which nail gun should a homeowner buy first?
For trim and small woodworking, an 18-gauge brad nailer is the most flexible first nailer. If your main job is thick baseboard or door casing, a 16-gauge finish nailer is the better first buy. Framing nailers are for structural work only.
What size compressor do I need for a brad nailer?
Brad nailers use very little air, so a small pancake or hot-dog compressor is enough for trim work. Check the pressure range printed on the nailer and set the compressor's regulator inside it.
Do I need to oil a pneumatic nail gun?
Only if the manual says so. Oil-free models, like the one we feature, are built to run without oil. Oiled models need a few drops in the air inlet before each day of use.
Why do my nails stick out or sink too deep?
Adjust the depth control first. If that is not enough, raise or lower the air pressure a little. Hard wood, knots and end grain change the depth, so test on a scrap of the same material.
Is a pneumatic or a cordless nail gun better?
Pneumatic nailers are lighter, cost less and fire instantly, but you must drag a hose and run a compressor. Cordless nailers go anywhere and suit small jobs, but they are heavier and the battery tools cost more.
Is a nail gun safe for a beginner?
Yes, with care. Wear safety glasses, use single-fire mode, keep your free hand well away from the nose, and disconnect the air before clearing a jam or walking away.
Sources
Related tools
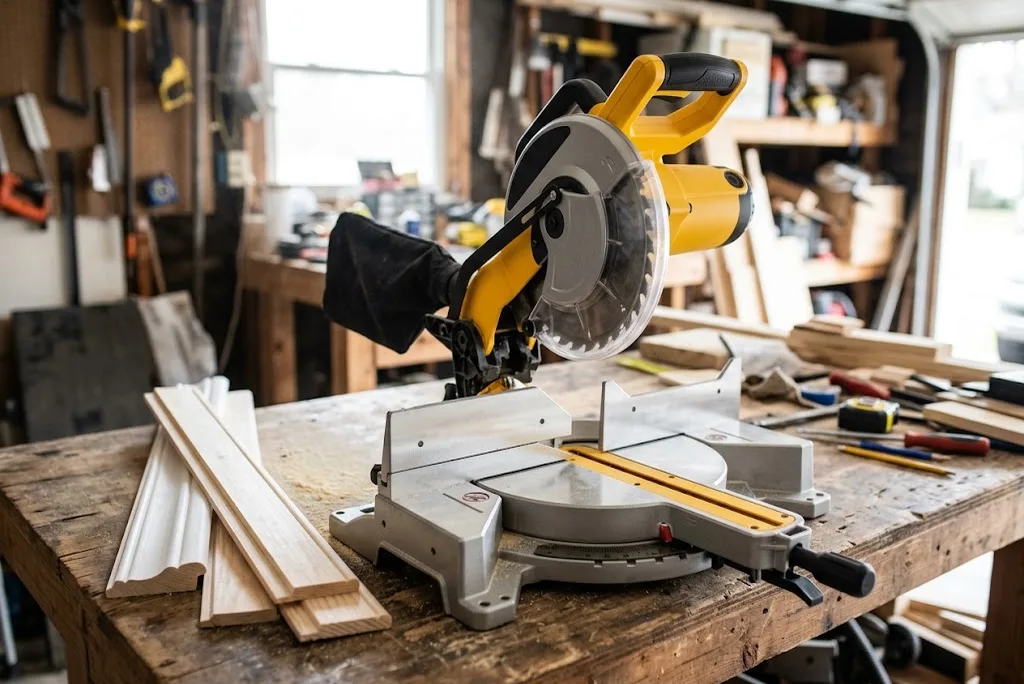 Power ToolsMiter Saw: The Fast, Accurate Way to Cut Trim and FramingA miter saw is a circular saw mounted on an arm that swings down onto a board held against a fence, so it makes fast, repeatable angled and square crosscuts.
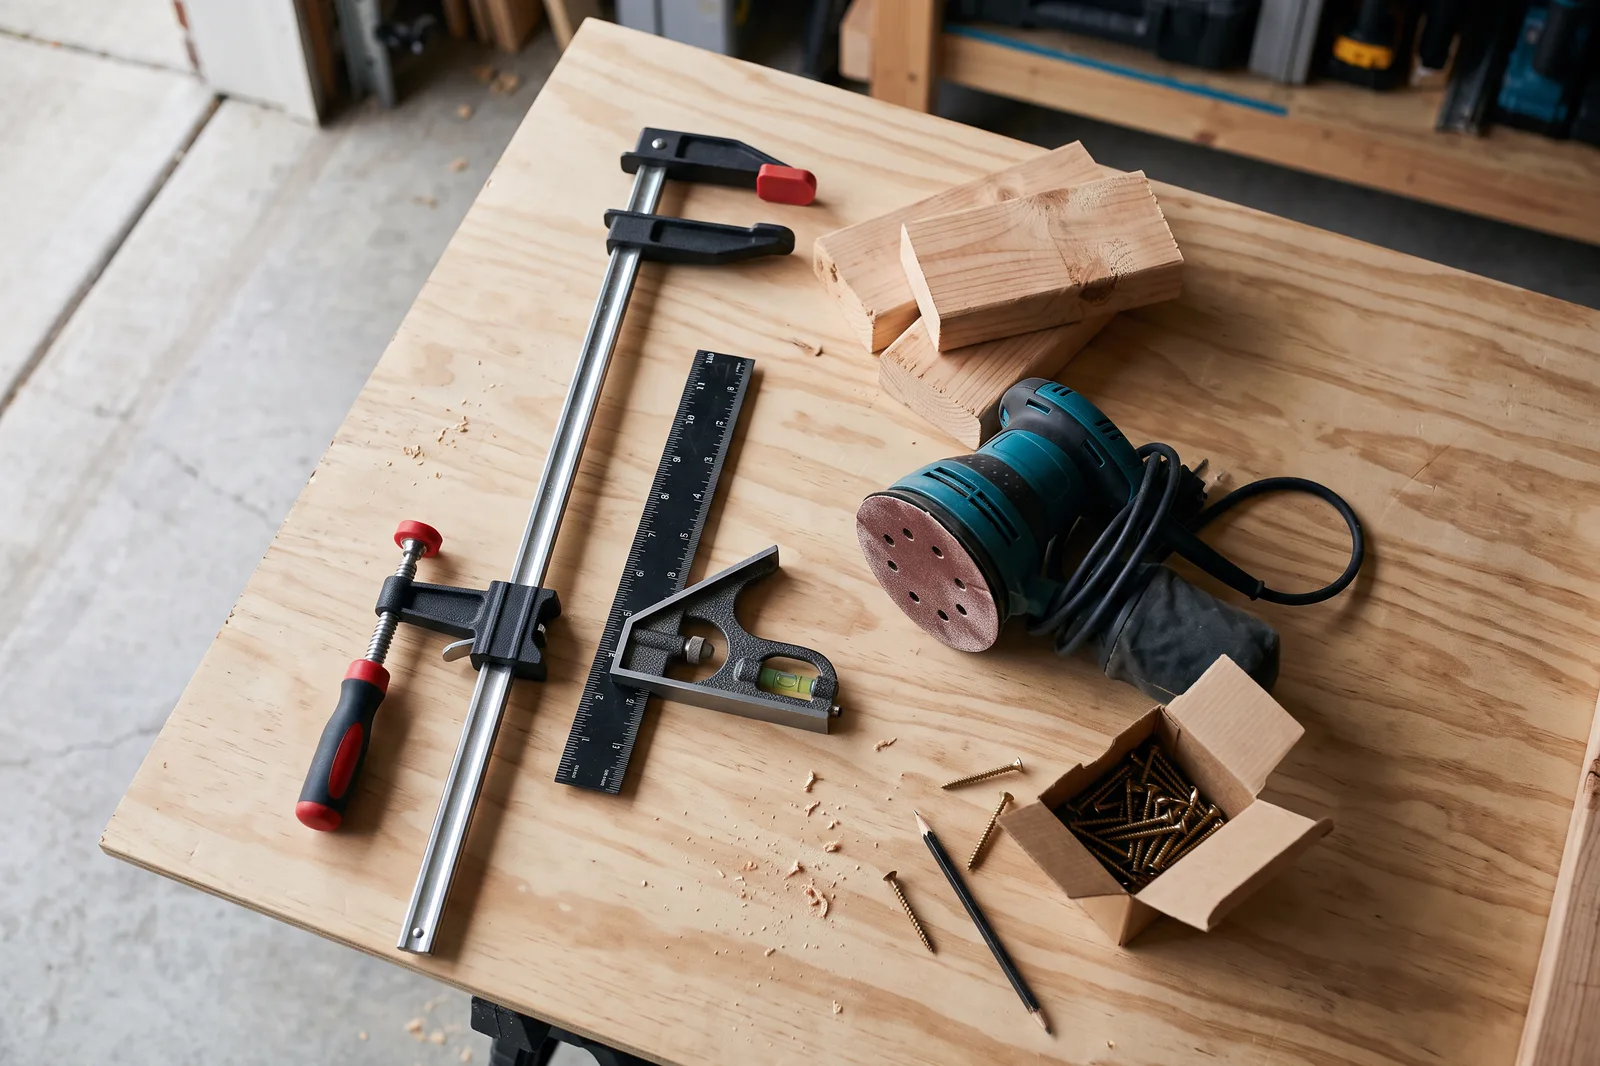 Workshop & StorageTools Needed to Build a Simple WorkbenchA simple workbench is 2x4 legs and rails with a plywood or MDF top, so you need a saw, a cordless drill/driver, a tape measure, a square and a few clamps.
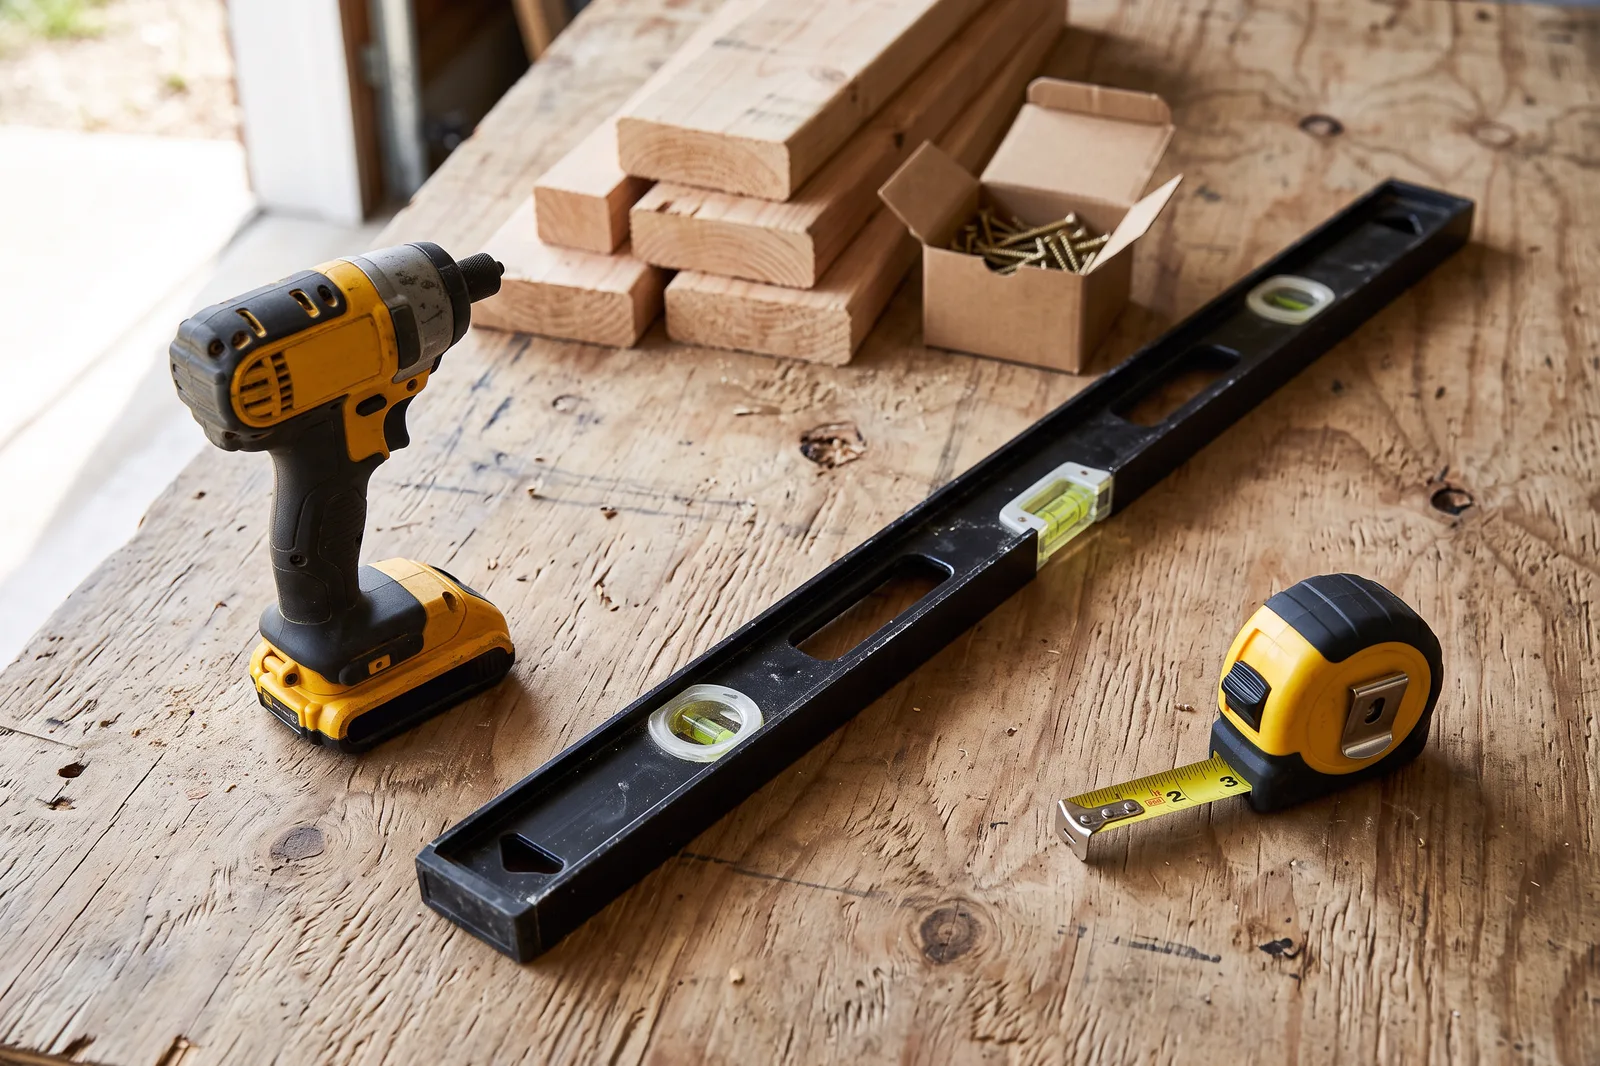 Workshop & StorageTools Needed to Build Garage ShelvesSturdy garage shelves from 2x4s and plywood need a handful of tools: a tape measure, a level, a cordless drill/driver, a saw to cut the lumber and a square to mark it.